Toilet Installation in Malibu, CA
Serving Ventura & Sacramento Counties
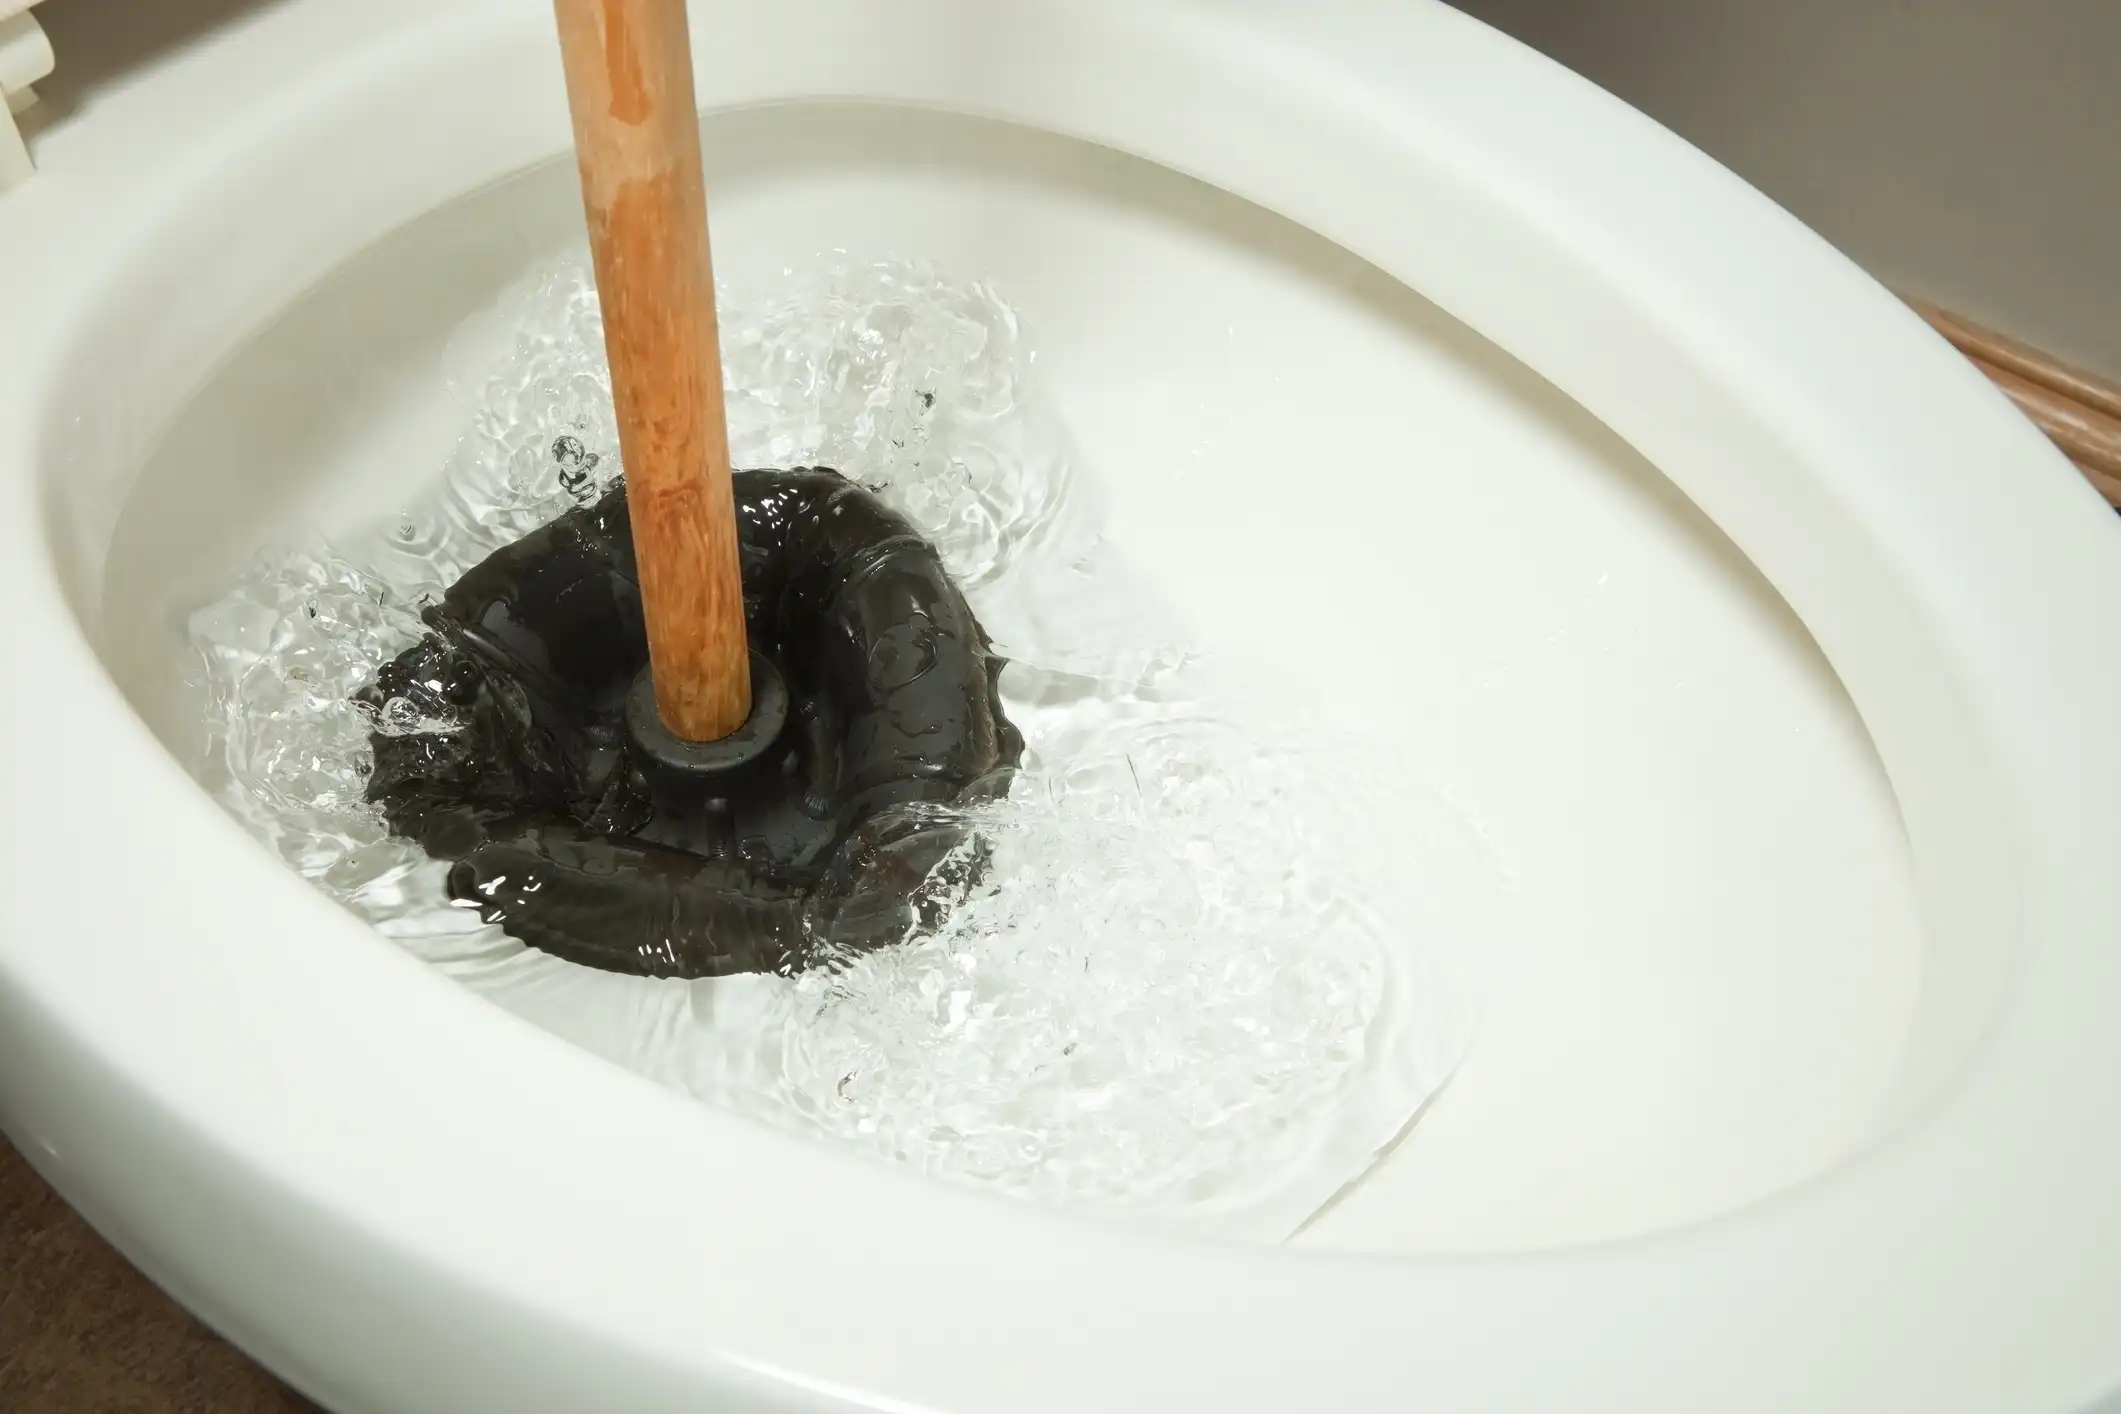
Upgrading or replacing a toilet in Malibu, CA is more than swapping fixtures. Coastal homes face unique conditions—salt air corrosion, variable water pressure in hillside properties, and strict local water conservation expectations—so a professional toilet installation ensures reliable performance, code compliance, and long-term leak prevention. This page explains how expert toilet installation works, how to choose the right toilet for Malibu homes, common issues we see, the step-by-step installation process, leak testing and warranty coverage, and practical post-install care.
Why professional toilet installation matters in Malibu, CA
- Malibu’s coastal climate accelerates metal corrosion and can affect supply valves, bolts and concealed hardware. Proper materials and anti-corrosion measures matter.
- Many Malibu homes have older plumbing, nonstandard flange heights, or private septic systems. A precise installation prevents leaks and protects foundations and finishes.
- California conservation standards and local ordinances favor low-flow and dual-flush fixtures. Professional installers ensure the chosen model meets performance expectations and local requirements.
- Incorrect installation is a leading cause of bathroom water damage and costly repairs. Professional work minimizes risk, preserves warranties, and protects property value.

Common toilet types and selection guidance
Choosing the right toilet depends on plumbing configuration, bathroom layout, and water-use goals.
- Standard gravity-fed toilets: Reliable and usually easiest to service in existing homes.
- Pressure-assisted toilets: Better flush performance for older homes but can be noisier.
- Low-flow toilets (1.28 gpf): Comply with California water efficiency goals and reduce bills.
- Dual-flush toilets: Offer selectable flush volumes for liquids and solids to maximize water savings.
- One-piece vs two-piece: One-piece models are sleeker and easier to clean but heavier to install; two-piece models are common and cost-effective.
- Bowl shape and rough-in: Elongated bowls increase comfort but may not fit tight spaces. Confirm the rough-in measurement (typically 12 inches, but some Malibu homes vary).
- Materials and finishes: For coastal homes, choose rust-resistant mounting hardware and consider glazed trapways for clog resistance.
Site preparation and removal of the old fixture
Proper prep reduces surprises during installation.
- Assessment: Inspect flange condition, floor level, water supply line location, and subfloor integrity. Identify signs of previous leaks, rot, or damaged tile.
- Turn off water and drain the tank and bowl completely.
- Removal: Disconnect supply line, unbolt closet bolts, and remove the old toilet. On older installations, careful removal prevents damage to tile or finished floors.
- Flange and subfloor inspection: Replace or repair a corroded or cracked flange. Reinforce or replace rotted subflooring before setting a new toilet.
Professional installation steps
A high-quality installation follows precise steps that protect plumbing and finishes.
- Verify rough-in and flange height: Confirm the flange sits at or slightly above finished floor level for a solid seal.
- Prepare the seal: Choose the appropriate seal—traditional wax ring for most installs or a wax-free rubber gasket when the flange is recessed or you want a reusable seal.
- Set the toilet: Align the bowl carefully over the flange and closet bolts, lower it straight down, and apply even pressure to seat the seal. Do not rock or twist the bowl.
- Secure and torque: Tighten nuts evenly to avoid cracking porcelain. Use washers or bolt covers to protect the finish. Replace corroded bolts with stainless hardware in coastal environments.
- Connect water supply: Install a new braided stainless supply line and check angle stop condition; replace old stops prone to corrosion.
- Tank assembly and adjustments: If applicable, attach the tank, test fill and flush components, and adjust fill valve and flush valve for optimal performance.
- Final leveling and caulking: Level the toilet, trim bolt covers, and apply a thin bead of silicone caulk at the base where appropriate—note that some building codes or best practices leave the back uncaulked to allow leak detection. Follow local guidance.
Leak testing and quality checks
A professional installer performs multiple checks before leaving the site.
- Water supply pressure check: Ensure stable fill and no hidden pressure issues.
- Leak inspection: Check base, supply connection, tank bolts and the area beneath the toilet for signs of leakage.
- Flush performance test: Confirm one or more full flush cycles for solids and liquids on dual-flush units.
- Flange and seal evaluation: Confirm the flange and seal are properly seated and sealed.
- Final walk-through: Verify that flooring and surrounding finishes are intact and that the toilet is stable with no rocking.
Post-install care and warranty coverage
After installation, a few simple maintenance habits extend life and protect your warranty.
- Avoid chemical drain cleaners: These can damage seals and internal parts. Use manufacturer-recommended cleaners.
- Monitor for early signs of leaks: Check floor around the base and inspect the back of the toilet for moisture periodically, especially after heavy rain in coastal homes.
- Recommended parts replacement: Supply lines and angle stops should be inspected annually and replaced as needed—stainless braided lines and corrosion-resistant stops are best in Malibu.
- Warranty coverage: Most manufacturers cover parts for defects and some include limited warranties on finishes. Professional installation is often required to keep those warranties valid; keep installation documentation and model numbers for warranty claims.
- Serviceability: Professional installation leaves sensible access to tank bolts and shutoff valves to simplify future repairs.
Common installation issues in Malibu and how pros prevent them
- Faulty flange or low flange height: Professionals repair or use flange extenders and correct seals to prevent leaks.
- Rotted subfloor under tile: Technicians identify and replace damaged subflooring before setting the bowl.
- Corroded hardware from salt air: Installers use stainless or coated hardware and replace old supply lines and stops.
- Poor flush performance after switching to low-flow: Experts select or adjust internal valve settings or recommend high-efficiency models with proven flush performance.
Maintenance tips and what to expect long term
- Schedule a quick inspection after one month to confirm everything is sealed and functioning.
- Clean gently and avoid abrasive or harsh chemical cleaners.
- If you have a septic system, choose low-flow models recommended for septic compatibility.
- Keep records: Save model, installation date, and installer notes to preserve warranty eligibility and simplify future service.
A professional toilet installation in Malibu, CA protects your home from hidden leaks, matches local water and design priorities, and ensures reliable performance suited to coastal conditions and hillside properties. Proper selection, meticulous site prep, and exacting installation steps are the difference between years of trouble-free use and recurring plumbing problems.
Upgrade Your Bathroom with Expert Toilet Installation
A new toilet is more than just a fixture—it’s peace of mind knowing your plumbing is protected against leaks, corrosion, and costly repairs. With AirWorks Heating Air Plumbing, every installation is tailored to Malibu’s coastal challenges, from salt-air corrosion to conservation requirements, ensuring durability and efficiency that lasts.
Take the next step toward comfort and reliability—contact us today to schedule your professional toilet installation in Malibu, CA.

Financing for Your AC, Heating, or Plumbing needs, Big or Small!
Hear What Our Satisfied Clients Have To Say