Radiant Barrier Upgrade Calabaslas, CA
Serving Ventura & Sacramento Counties
Radiant Barrier Upgrade Calabaslas, CA
An effective radiant barrier can make a noticeable difference in attic temperatures and cooling performance—especially in Calabaslas homes where long, sunny summers, steeply pitched roofs, and radiant heat from dark roof surfaces drive high cooling loads. A Radiant Barrier Upgrade Calabaslas, CA focuses on assessing what you already have, fixing common failures, and recommending targeted improvements (additional layers, repositioning, sealing, or replacement) that reduce attic heat gain and lower your air conditioning runtime.
Why upgrading a radiant barrier matters in Calabaslas
- Calabaslas experiences strong solar exposure and hot, dry summer days. Roof decks can reach extreme surface temperatures that radiate into attics and living spaces.
- Many local homes have attics with ducts, water heater or HVAC equipment; reducing radiant heat into the attic helps keep ducts and mechanicals cooler and reduces load on the AC.
- Older or improperly installed radiant barriers lose effectiveness over time from dust, tears, or gaps. Upgrading restores reflective performance and multiplies benefits when combined with insulation and air sealing.
Common radiant barrier issues in Calabaslas homes
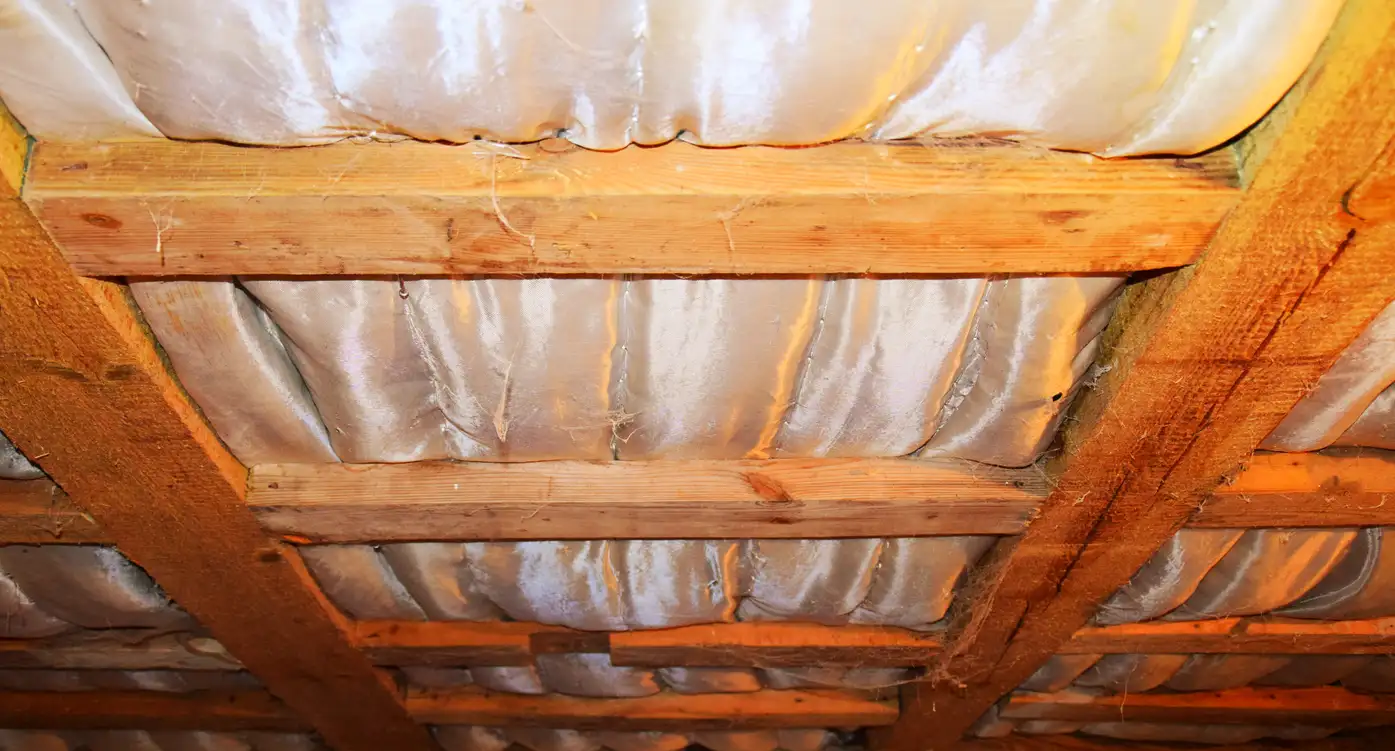
- Dust accumulation that reduces reflectivity. Attics that are dusty or where the barrier was installed horizontally can lose significant performance.
- Torn or missing sections from installers walking on the barrier, storage, or pest activity.
- Improper placement such as contact with insulation (which negates the reflective cavity), or gaps around penetrations and framing.
- Single-layer systems on very hot roofs where a single barrier isn’t enough to offset high radiant loads.
- Worn seam/fastener failures that allow the barrier to sag or pull away from the roof deck.
What we evaluate during a radiant barrier upgrade assessment
- Visual inspection for rips, creases, dust coverage, and attachment points.
- Measurement of attic and roof-deck temperatures (before/after snapshots) using infrared thermography and digital thermometers.
- Review of existing attic insulation R-value, ventilation, and attic air sealing—these factors determine the upgrade strategy.
- Inspection of attic ductwork and mechanicals to quantify potential benefits to HVAC efficiency.
- Determination of installation method best suited for your roof type and attic access (stapled to underside of rafters vs. laid over insulation).
Recommended improvements and upgrade options
- Replace or repair damaged foil: Replace torn sections and re-fastener to ensure continuous coverage.
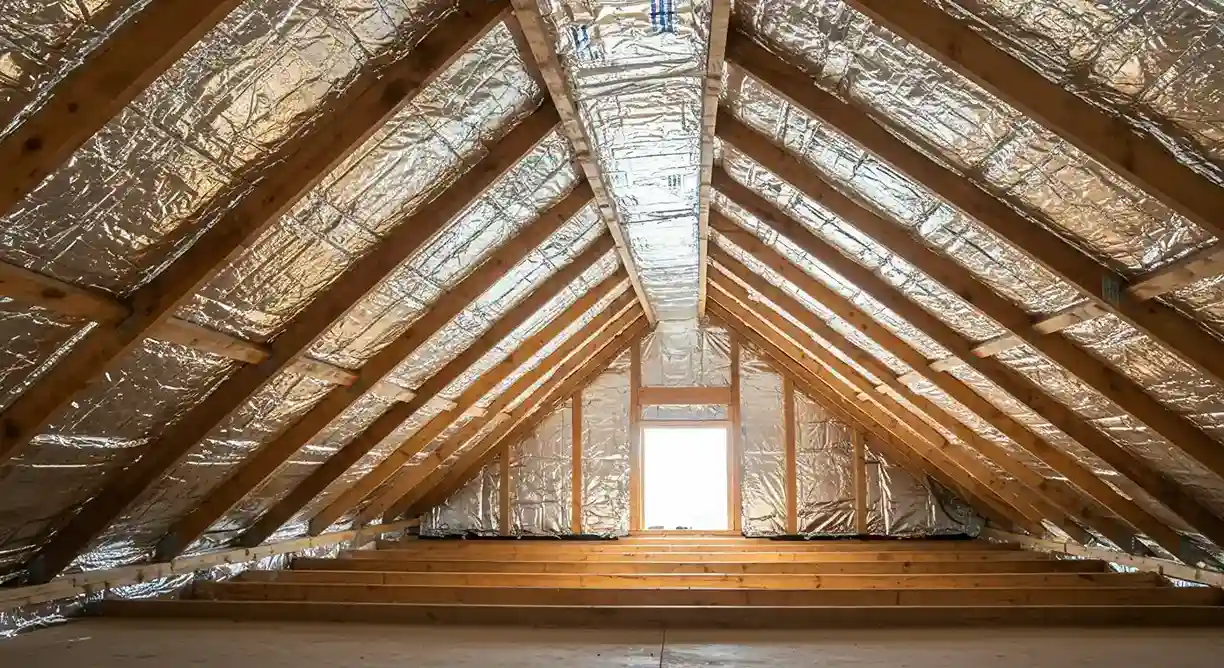
- Add an additional radiant barrier layer: For homes with dark roofs, poor ventilation, or high attic heat, a second layer can improve performance where a single layer falls short.
- Reposition barrier to optimal location: Stapling to underside of roof deck or rafter faces creates an effective reflective cavity; where barrier was installed flat over insulation and is dusty, repositioning vertically can restore efficiency.
- Seal attic penetrations and ducts: Pairing radiant barrier upgrades with duct sealing and attic air sealing multiplies energy savings.
- Combine with insulation top-off: If your attic insulation is below recommended R-values, adding insulation plus a radiant barrier upgrade yields the best return in Calabaslas’ climate.
- Improve ventilation: Ridge vents, soffit vents, or solar attic fans reduce the convective component of attic heat and support the radiant barrier’s effectiveness.
Typical installation process for an upgrade
- Pre-inspection and measurements: document existing conditions, attic temp, and insulation levels.
- Prepare attic: remove loose debris, relocate stored items off work path, identify and mark hazards (recessed lights, wiring).
- Repair or replace worn barrier: cut and remove damaged sections, apply new radiant foil or reflective panels as needed.
- Secure new or additional layers: staple or adhere foil to rafters or roof sheathing according to the chosen method, maintain optimal reflective cavity and avoid contact with insulation if required.
- Seal seams and penetrations: use appropriate foil tape and sealants around vents, pipes, and recessed fixtures to maintain continuous reflective surface.
- Re-check temperatures and document expected performance changes: measure post-install attic temperatures and estimate impact on cooling load.
Expected impact on cooling loads and comfort
Outcomes vary by roof color, attic insulation, ventilation, and existing system condition, but typical ranges you can expect in Calabaslas houses:
- Attic temperature reduction: commonly 10 to 30 degrees F lower peak attic temps compared to unprotected attics under the same conditions.
- Reduction in cooling energy use: generally 5% to 15% on cooling bills for whole-house savings; homes with poorly insulated attics, dark roofs, or ductwork in the attic frequently see savings toward the upper end of that range.
- Shorter AC runtimes and improved comfort on top-floor rooms: reduced peak loads can lead to more stable indoor temperatures and less cycling of the AC.
- Lower stress on attic ductwork and HVAC equipment: cooler attics reduce the heat transfer into ducts and extend equipment life.
These are averages; the precise benefit for your home is determined during the assessment and confirmed with before/after temperature readings.
Best practices and safety considerations
- Maintain a reflective air gap: radiant barriers work by reflecting heat back toward the roof, so avoid compressing the barrier against insulation or roof sheathing.
- Watch for dust accumulation: vertically installed barriers collect far less dust and retain reflectivity longer than horizontal installations.
- Follow building and electrical codes: keep radiant barrier material away from non-IC-rated recessed fixtures and heat-producing elements.
- Combine measures for best ROI: radiant barriers are most effective when paired with proper insulation, attic sealing, and adequate ventilation.
Maintenance and long-term performance
- Inspect every 5–10 years: check for tears, sagging, pest damage, and dust. Re-secure and repair seams as needed.
- Reassess after attic work: if you add insulation, HVAC equipment, or run new wiring, verify the barrier remains effective and properly positioned.
- Consider periodic thermal imaging to quantify retained performance and verify expected reductions in attic temperature.
Upgrading a radiant barrier in Calabaslas homes is a practical, proven step to reduce attic heat gain and improve cooling efficiency—especially when implemented as part of a coordinated attic performance upgrade that includes air sealing, insulation, and ductwork attention. The assessment determines which combination of repairs, additional layers, and complementary measures will deliver the greatest, measurable benefit for your specific roof, attic, and cooling system.
Upgrade Comfort the Right Way
When rising attic heat puts pressure on your cooling system, trust AirWorks Heating Air Plumbing for professional radiant barrier upgrades that restore efficiency and comfort. We tailor solutions to your roof, attic, and HVAC setup for measurable results you can feel. Explore Our Services to see the full range of energy-saving options available to you. Want to know why so many homeowners trust us? Visit About Us to learn our story and values. Schedule today for a cooler, more efficient home built to last.
More HVAC & PlumbingPlumbing Tips & Articles
.jpg) Ventilation& Air Purifiersdiscover more about it
Ventilation& Air Purifiersdiscover more about it- Ventilation& Air Purifiersdiscover more about it
- Ventilation& Air Purifiersdiscover more about it

Financing for Your AC, Heating, or Plumbing needs, Big or Small!
Hear What Our Satisfied Clients Have To Say