Dehumidifier Installation in Calabasas, CA
Serving Ventura & Sacramento Counties

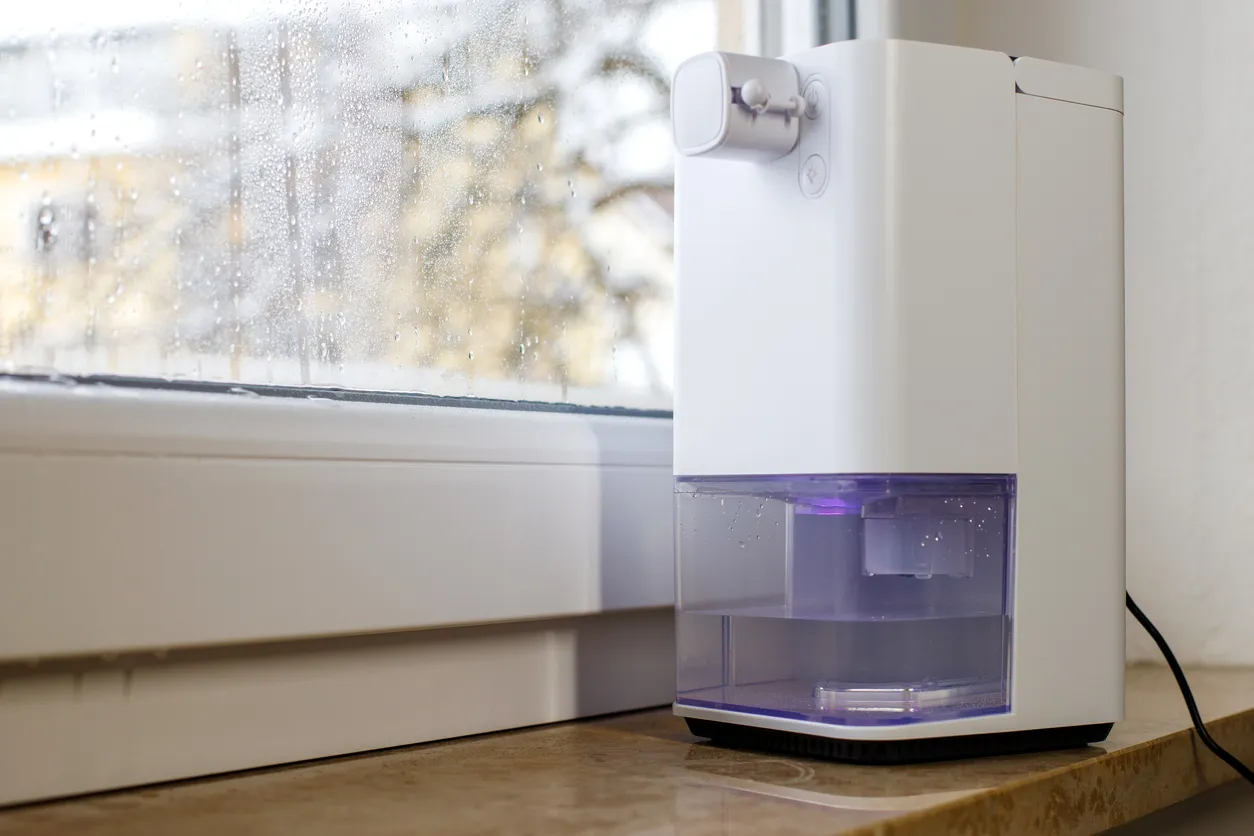
Dehumidifier Installation Calabasas, CA
Excess indoor humidity can cause musty odors, mold growth, damaged wood floors, and an uneasy, sticky feeling in your home—issues many Calabasas homeowners recognize, especially in low-lying canyon homes, older houses with crawl spaces, or properties near irrigated landscaping and pools. Proper dehumidifier installation balances comfort, indoor air quality, and energy use. This page explains whole-home and point dehumidifier options, how we assess humidity, sizing and placement considerations, the typical installation process, energy factors to watch, and straightforward maintenance to keep systems performing year after year.
Why dehumidification matters in Calabasas homes
- Calabasas climate: Mediterranean summers with warm, occasionally humid mornings from coastal marine layers, and mild winters where rain and irrigation can raise indoor moisture.
- Common local moisture sources: landscape watering, pool/spa evaporation, attached garages, poorly ventilated bathrooms and kitchens, and crawlspace moisture in older builds.
- Health and durability impacts: high relative humidity (above 50-55%) promotes mold, dust mites, and wood/paint damage. Keeping relative humidity around 40-50% protects occupants and the home’s structure.
Whole-home vs point dehumidifier: which is right?
- Whole-home dehumidifier:
- Integrates with your existing HVAC system or ductwork to control humidity across the entire house.
- Best for multi-level homes, large square footage, or when moisture affects multiple rooms (basements, bedrooms, living spaces).
- Installed at the air handler or in a dedicated bypass; removes moisture continuously and uses central airflow for distribution.
- Point dehumidifier:
- Targets a specific area: basement, crawlspace, garage, or single damp room.
- Options include portable electric units and ducted point systems designed for a specific space.
- Ideal when moisture problems are localized or for supplemental control in addition to HVAC.
Humidity assessment: the foundation of a correct install
A reliable installation starts with a professional humidity assessment that looks beyond a single hygrometer reading:
- Measure relative humidity (RH) and temperature in multiple rooms and at different times of day to capture morning marine layer or post-irrigation peaks.
- Identify moisture sources: plumbing leaks, poor ventilation, crawlspace vapor intrusion, or high-evaporation areas like pools and spas.
- Inspect HVAC performance: airflow, duct leakage, condensate drain condition, and whether the air handler can support a whole-house unit.
- Create a moisture load estimate based on home size, occupancy, activities, and local climate patterns—this drives correct sizing.
Sizing and placement essentials
- Capacity: Dehumidifiers are rated by moisture removal (pints or liters per day). Proper capacity depends on moisture load, not just square footage. Typical whole-house units for California homes often range from moderate (30–70 pints/day) to larger systems (70–120+ pints/day) depending on size and conditions.
- Placement for whole-home units:
- Near the air handler or return plenum for easiest integration.
- Ensure space for service access, a condensate drain or pump, and electrical connection.
- Balance static pressure: professional installers confirm the added ductwork or bypass won’t harm HVAC airflow.
- Placement for point units:
- Locate centrally in the problem area, away from direct sunlight and with adequate clearance for airflow.
- For crawlspaces, choose units rated for low temperatures and secure condensate handling.
Typical installation steps (what to expect)
- Site survey and final measurement: confirm placement, electrical availability, and drain route.
- Select the system: whole-home or point, capacity, energy rating, and options like built-in pumps or smart controls.
- Prepare the site: run drain lines (gravity or condensate pump), provide a dedicated 120/240V circuit if required, and create proper mounting support.
- Mechanical integration:
For whole-home: mount unit at air handler or install bypass ducting; connect to return and supply as required.
- For point: position unit and, if ducted, connect to local duct or vent.
- Connect condensate disposal: to a drain, sump, or condensate pump sized to local conditions.
- Commissioning and balancing: set the RH target (commonly 40–50%), verify operation across rooms, and adjust HVAC fan settings if needed.
- Owner orientation: show controls, filter access, and condensate routing.
Energy considerations and system options
- Efficiency matters: look for ENERGY STAR-rated dehumidifiers and machines with higher energy factor ratings. Modern whole-house units paired with efficient air handlers reduce run time.
- Integration vs standalone: integrating with HVAC can be more energy-efficient than running multiple portable units, because the central system moves conditioned air and reduces redundancy.
- Controls: humidistats and smart controls enable setpoint scheduling to avoid over-dehumidifying during dry Santa Ana periods and to target higher control when needed (e.g., after rain).
- Refrigerant vs desiccant: refrigerant-based units are standard and efficient for typical California conditions; desiccant systems perform better in colder, lower-temperature spaces like some crawlspaces.
Common problems and how correct installation avoids them
- Undersized equipment: results in chronic high RH and short cycling. Proper load assessment prevents this.
- Poor placement: locating a whole-house unit in a low-airflow area reduces effectiveness; installers verify static pressure and airflow.
- Blocked drains and pumps: routine service keeps condensate flowing; installers use appropriate slope or pump sizing.
- Noise and vibration: correct mounting and isolation minimize disturbance in living areas.
Ongoing maintenance guidance
- Check and clean filters monthly during heavy use; replace as recommended by the manufacturer.
- Inspect condensate lines and pumps every 3–6 months for clogs or algae buildup.
- Clean coils annually to maintain efficiency and prevent microbial growth.
- Verify control calibration and RH readings seasonally—adjust setpoints for summer humidity spikes or dry winter conditions.
- Schedule a professional inspection annually to confirm electrical connections, refrigerant charge (if applicable), and system balance.
Benefits of a properly installed dehumidifier in Calabasas
- Reduces mold risk, protecting family health and home value.
- Improves comfort without overcooling; air can feel more comfortable at higher thermostat settings when humidity is controlled.
- Protects wood floors, cabinetry, and artwork from moisture-related damage.
- Helps HVAC systems operate more efficiently by lowering latent load during humid periods.
A well-sized and professionally installed dehumidifier tailored to your Calabasas home and local conditions delivers noticeable comfort, protects your property, and prolongs the life of finishes and systems. Proper assessment, correct placement, attention to energy performance, and routine maintenance are the pillars of a dehumidification solution that keeps your indoor environment balanced year-round.
Protect Your Home with Professional Dehumidifier Installation
Don’t let excess humidity cause mold, odors, or costly damage in your Calabasas home. At AirWorks Heating Air Plumbing, we specialize in sizing and installing whole-home and point dehumidifiers that address local challenges like marine layer moisture, canyon humidity, and crawlspace dampness. Our expert team ensures seamless integration with your HVAC system, reliable drainage, and long-term performance. Contact us today to schedule your dehumidifier installation in Calabasas, CA and enjoy a healthier, more comfortable living environment year-round.

Financing for Your AC, Heating, or Plumbing needs, Big or Small!
Hear What Our Satisfied Clients Have To Say