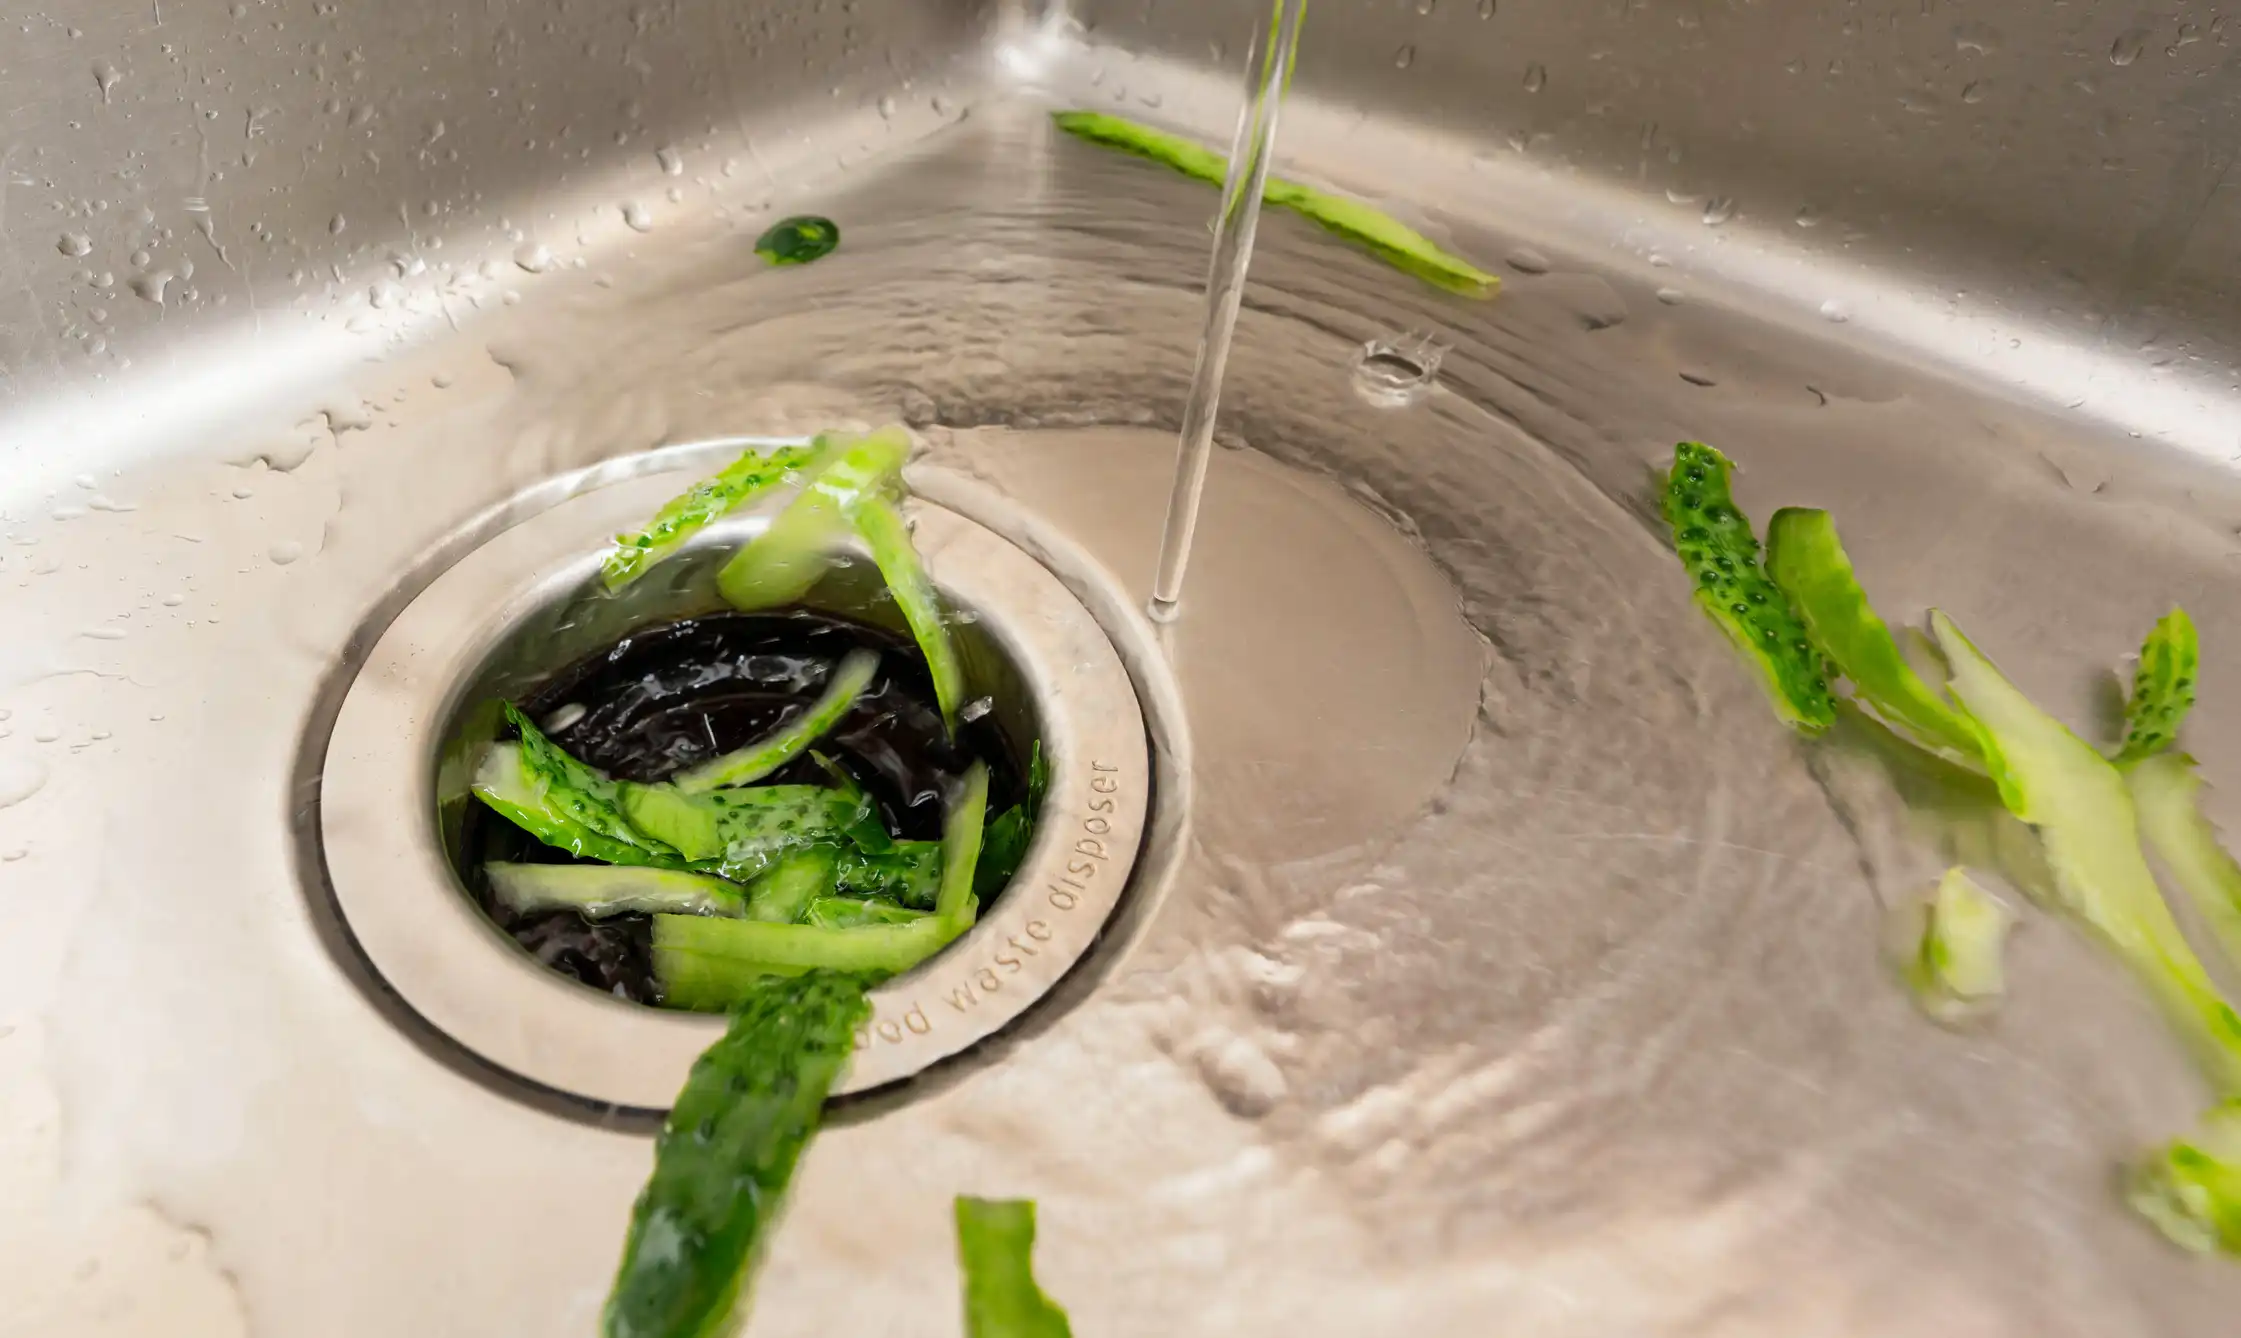
Garbage Disposal Installation in Lake Sherwood, CA
Serving Ventura & Sacramento Counties

Upgrading or installing a garbage disposal in your Lake Sherwood, CA home improves kitchen convenience, reduces countertop waste, and helps keep sinks clear during heavy entertaining. Whether you own a year-round residence, a lakefront property used for gatherings, or a vacation home, the right disposal and a professional installation ensure reliable performance, quiet operation, and compatibility with local plumbing and septic conditions. This page explains disposal options and sizing, pre-installation checks specific to the Lake Sherwood area, step-by-step professional installation details, safety guidance, maintenance, troubleshooting, and warranty and upgrade choices.
Why choose a professional garbage disposal installation in Lake Sherwood, CA
- Local plumbing layouts, homeowner association rules, and septic versus sewer connections vary across Lake Sherwood neighborhoods. A pro ensures the unit matches your home’s infrastructure.
- Proper installation prevents leaks, electrical hazards, and premature failures that can be costly and disruptive during peak entertaining seasons.
- Professionals can recommend models that balance quiet operation, power, and water-conservation strategies suitable for Southern California drought-conscious households.

Garbage disposal options and sizing
Choosing the right model depends on household size, cooking habits, and whether you have a municipal sewer or septic system.
Continuous feed vs batch feed
- Continuous feed: common, turned on with a wall or air switch and best for frequent use.
- Batch feed: operates only with a stopper in place for added safety, good for homes with children or vacation rentals.
Horsepower options and recommended usage
- 1/3 to 1/2 HP: suitable for small households that generate light food waste.
- 3/4 HP: a reliable choice for most Lake Sherwood families who cook often and host guests.
- 1 HP and above: recommended for large households, heavy cooking, or frequent entertaining; handles tougher scraps and larger volumes.
Features to consider
- Sound insulation and anti-vibration mounts for quieter operation in open-plan kitchens.
- Stainless steel grinding components for corrosion resistance and longer life.
- Anti-jam systems and manual reset for easier troubleshooting.
- Dishwasher inlet knockouts if you connect a dishwasher drain.
Pre-installation checks (electrical, plumbing, permits)
Before installation, a thorough assessment prevents surprises and ensures code compliance.
Electrical
- Confirm voltage and circuit capacity. Most disposals run on standard 120V circuits; higher horsepower units may need a dedicated 20 amp circuit or hardwiring.
- Check whether the current setup uses an under-sink outlet or requires hardwiring. For island sinks, plan for an air switch or remote power location.
- Verify grounding and switch compatibility.
Plumbing
- Inspect sink type and mounting flange. Many disposals match 3-bolt mounts or quick-mount systems, but older sinks may need a new flange or adapter.
- Confirm the drain line condition and p-trap accessibility. Ensure there is room for the disposal and that the dishwasher drain knockout is available if needed.
- Identify if your home connects to sewer or septic. Some septic systems have restrictions or recommendations to limit solids; check with your septic service professional or HOA rules.
Permits and HOA
- Some municipalities or homeowners associations require permits or have restrictions on disposals for septic systems. Verify local rules before installation.
Professional installation process
A professional installation follows a consistent, safety-focused sequence:
- On-site inspection and model selection verification.
- Turn off power at the circuit breaker and disconnect the old unit if present.
- Remove the old flange and clean the sink opening; replace damaged sink hardware if necessary.
- Install new flange, rubber gasket, and mounting assembly; attach disposal with the chosen mount system.
- Connect discharge piping, dishwasher inlet (if applicable), and p-trap; ensure proper slope and secure fittings.
- Wire the unit to the switched circuit or plug into a grounded outlet; install an air switch for island applications if specified.
- Test operation under water for leaks, check for vibration, and confirm the unit grinds efficiently.
- Demonstrate basic operation and safety features to the homeowner and leave installation documentation and warranty info.
Safety guidelines
- Always turn off electrical power at the breaker before servicing or attempting repairs.
- Never insert hands into the grinding chamber. Use tongs or pliers to remove foreign objects.
- Run a steady stream of cold water while the disposal is operating to solidify greases and flush particles through the drain.
- Do not use chemical drain cleaners inside the disposal; they can damage seals and the motor.
- Keep children and unsupervised guests informed about proper use, especially in vacation homes or rentals.
Maintenance tips for Lake Sherwood homes
Regular maintenance extends lifespan and reduces odors and clogs.
- Run the disposal regularly to prevent stagnation. For low-use properties, run it at least once a week.
- Use cold water during grinding and for 10 to 15 seconds after to flush solids.
- Avoid putting grease, oil, fibrous foods (onion skins, celery, corn husks), coffee grounds in large amounts, and large bones into the unit.
- Clean the splash guard and flange periodically; grind citrus peels and ice cubes to reduce odors and help clean the chamber.
- For septic systems, limit food waste volume, consider an occasional enzyme treatment designed for septic care, and coordinate with your septic service provider.
Common problems and troubleshooting
- Humming but not spinning: likely a jam or overloaded motor. Turn off power, use the manual hex key under the unit to free the rotor, then reset the motor at the reset button.
- Unit not powering on: check the breaker, wall switch, or under-sink outlet. Reset button may need pressing after tripping.
- Leaks at flange or discharge: often caused by loose mounting bolts, dried putty, or worn gaskets. Tightening or replacing seals usually fixes it; persistent leaks require professional attention.
- Persistent odors: run citrus peels, baking soda and vinegar flush with cold water, and clean the splash guard.
Warranty and upgrade considerations
- Warranty lengths vary by manufacturer and model. Look for longer warranties on motors and stainless steel grind chambers for long-term value.
- Upgrade options that add convenience and longevity:
- Sound reduction packages and anti-vibration mounts.
- Higher horsepower motors for frequent entertaining and heavy use.
- Air switch installations for island or wet bar sinks to avoid exposed wall switches.
- Soft-start or insulated motors for quieter startups.
- Keep installation and warranty paperwork in a safe place to preserve coverage and make future service smoother.
Conclusion
A correctly selected and professionally installed garbage disposal improves kitchen efficiency, reduces sink backups, and fits into Lake Sherwood living—whether you need a quiet appliance for a lakefront entertaining space or a durable unit for a full-time family kitchen. Careful pre-installation checks, attention to septic and HOA considerations, routine maintenance, and understanding common troubleshooting steps will keep your disposal functioning reliably for years.
Get Reliable, Mess-Free Garbage Disposal Installation Done Right
Avoid leaks, noise, and kitchen disruptions by choosing expert garbage disposal installation in Lake Sherwood, CA. With AirWorks Heating Air Plumbingou get precise installation tailored to your home’s plumbing, electrical setup, and local usage needs—whether you’re upgrading a vacation property or renovating your full-time residence. Our experienced team ensures safe connections, code compliance, and smooth, quiet operation for years to come.
Contact AirWorks Heating Air Plumbing today to schedule your professional garbage disposal installation and enjoy cleaner, more efficient kitchen performance.


