Garbage Disposal Installation Goleta, CA
Serving Ventura & Sacramento Counties
An efficient garbage disposal makes daily kitchen cleanup faster, reduces sink clogs, and helps keep odors under control. For homeowners in Goleta, CA, proper installation matters not just for performance but for durability in a coastal environment. This page explains how professional garbage disposal installation works, how to choose the right unit and features, what electrical and plumbing requirements to expect, step-by-step installation details, integration with existing sinks and dishwashers, and practical maintenance tips to extend unit life.
Why proper installation matters in Goleta
Goleta’s mild coastal climate and salt air can accelerate corrosion on metal parts when appliances are not selected or installed with local conditions in mind. Many homes here are a mix of older bungalows and newer construction; older sink flanges, worn plumbing, or undersized electrical circuits can cause failures if not addressed during installation. A correct installation prevents leaks, reduces noise and vibration, and avoids downstream clogs or dishwasher backflow problems.
Common garbage disposal issues in Goleta homes
- Leaks at the sink flange or side outlet due to degraded seals or improper mounting.
- Humming or motor jams from foreign objects or overloaded grinding chambers.
- Frequent tripping of the reset or breaker because of undersized circuits or internal faults.
- Slow drainage or backups from inadequate trap alignment or downstream blockages.
- Corrosion-prone components in coastal homes that shorten unit life.
Choosing the right garbage disposal: horsepower and features
Selecting the right horsepower and features determines reliability and performance for your household needs.
Horsepower options:
- 1/3 HP: Suitable for light use, single-person households, or second kitchens. Not ideal for fibrous or large amounts of waste.
- 1/2 HP: The most common choice for average families; handles most food waste reliably.
- 3/4 HP to 1 HP: Recommended for larger families, frequent entertaining, or those who grind tougher scraps like small bones or large amounts of vegetable peels.
- 1+ HP commercial-style units: For very heavy use or multi-family homes.
Key features to consider:
- Continuous feed vs batch feed (continuous runs while switch is on; batch feed requires lid for added safety).
- Jam-sensor or auto-reverse technology reduces jams.
- Sound insulation and anti-vibration mounting for quieter operation—useful in open-plan Goleta kitchens.
- Stainless steel grinding components resist corrosion better in coastal areas.
- Dishwasher inlet and knockout plug for future connections.
Electrical and plumbing requirements
Electrical:
- Most residential disposals require 120V on a 15A or 20A circuit. Heavier units (3/4 HP and above) often need a dedicated 20A circuit.
- Disposals can be hardwired or installed with a cord kit; local code and homeowner preference determine which is used. Electrical work should comply with California electrical code and may require a licensed electrician for hardwiring.
- The disposal is typically controlled by a wall switch; switch placement and wiring must be planned before installation.
Plumbing:
- A standard sink flange and mounting assembly tie the disposal to the sink; older flanges may need replacement to stop leaks.
- The disposal outlet connects to the dishwasher tailpiece if needed; ensure proper dishwasher air gap or high-loop to prevent backflow. Local plumbing codes may require an air gap in some installations.
- P-trap alignment and appropriate trap arm slope are critical to avoid slow drainage and odors. If replacing an older disposal, new piping or a trap adapter may be necessary.
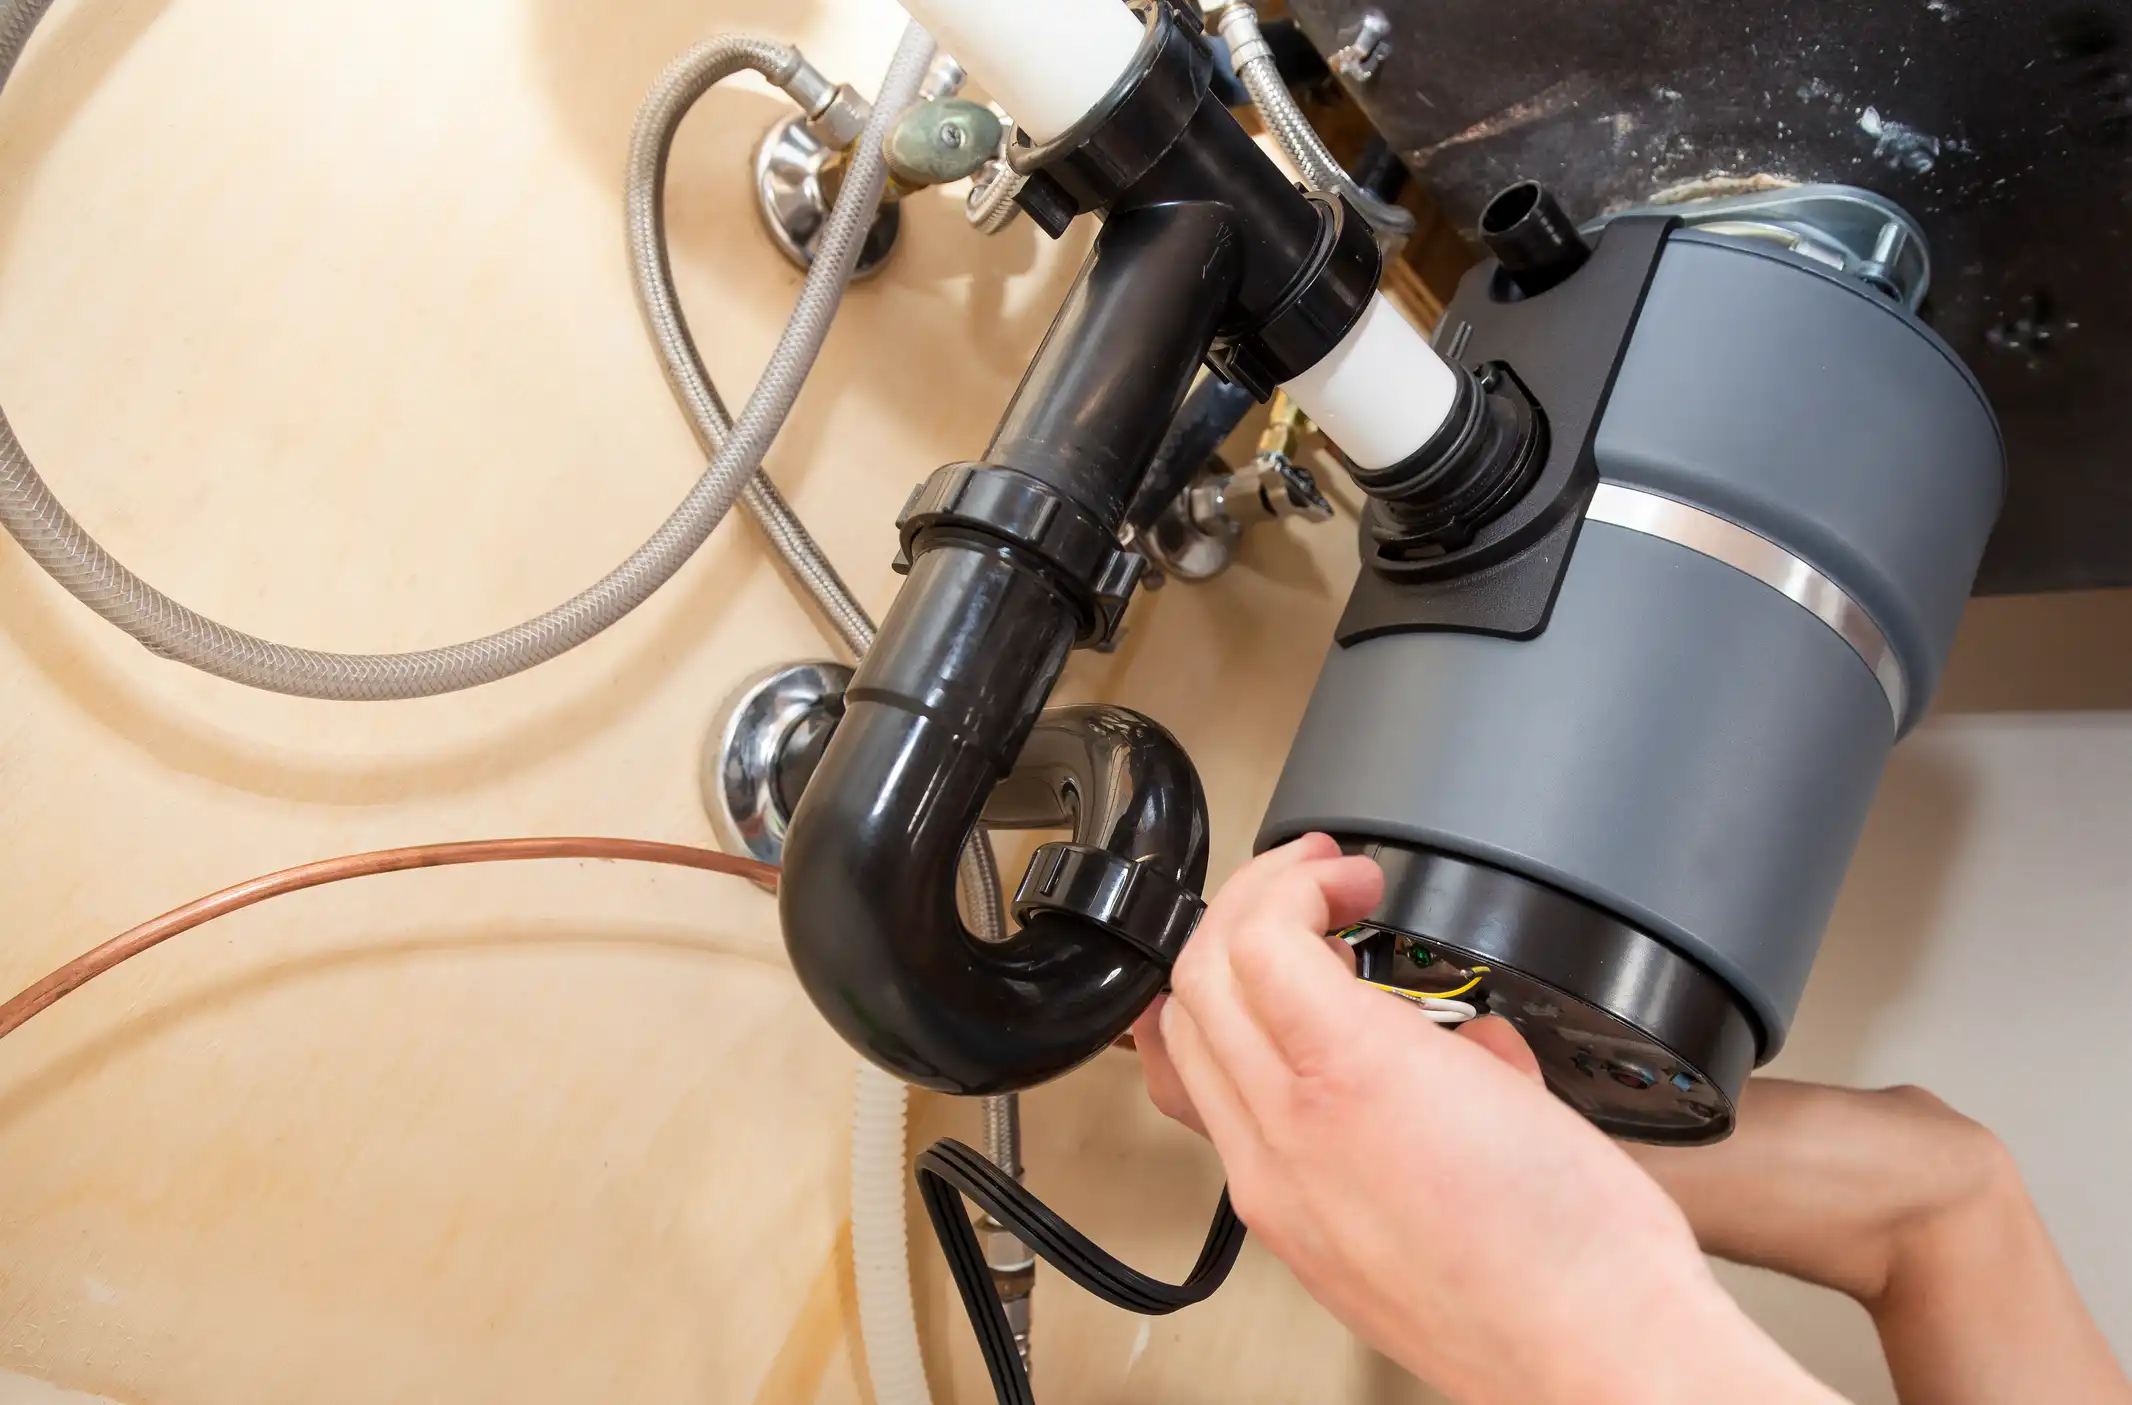
Typical installation steps
- Inspect the existing sink, plumbing, and electrical to confirm compatibility and note any repairs or upgrades needed.
- Remove the old unit (if present), clean the sink opening, and replace the sink flange and mounting ring if corroded or leaking.
- Assemble and secure the new mounting hardware to the sink. For drop-in or under-mount sinks, use the correct flange type and sealant.
- Attach the disposal to the mounting assembly and ensure a tight, even fit.
- Connect the dishwasher inlet (if used) and install an air gap or high-loop as required.
- Wire the unit: install a cord or hardwire per code, and connect the switch. Confirm the circuit size matches manufacturer requirements.
- Reconnect the P-trap and drain lines, check alignment and slope, and run a water and power test to check for leaks, noise, and proper drainage.
- Demonstrate basic operation and reset location. Leave documentation on the unit and any replacement parts used.
Integrating with existing sinks and dishwashers
- Single-basin vs double-basin: Consider placement so the disposal serves the primary sink bowl effectively; placement on the side of the dominant bowl is common. For double bowls, ensure piping is not kinked and that the trap fits.
- Dishwasher hookup: Use the disposal’s knockout plug for the dishwasher inlet when needed. Always install a high-loop or air gap to meet code and prevent dirty water from flowing back into the dishwasher.
- Undermount or composite sinks: Use compatible mounting kits and sealants. Composite sinks may require different flange materials to prevent staining or corrosion.
Maintenance tips to extend unit life
- Run cold water while the disposal is operating and for 10-15 seconds after to flush solids to the drain. Cold water helps solidify fats so they can be chopped and flushed away.
- Avoid putting grease, coffee grounds in large amounts, fibrous items (corn husks, celery), expandable foods (pasta, rice), and hard objects (large bones) into the unit.
- Use small citrus peels and ice cubes occasionally to clean and freshen the chamber. A few tablespoon-sized ice plus coarse salt can help remove buildup on grinding components.
- Never use chemical drain cleaners on a disposal; they can damage components and seals. Use mechanical clearing methods or enzyme-based products if needed.
- Inspect mounts and seals annually, especially in coastal homes where salt air speeds corrosion. Replace worn flange gaskets to stop slow leaks.
- If the motor hums or the unit stops, use the reset button and the manual wrench hole (if provided) to clear jams per the manufacturer instructions; power off before attempting any manual clearing.
Benefits of timely installation and maintenance
A properly sized and professionally installed garbage disposal reduces sink clogs, controls odors, and protects downstream plumbing. In Goleta’s coastal environment, choosing corrosion-resistant components and keeping a routine maintenance check will significantly extend unit life and maintain performance. Matching horsepower and features to household habits prevents premature wear and keeps kitchens running smoothly.
Regular inspections and attention to local code requirements ensure safe, reliable operation. For homeowners replacing an aged unit or upgrading to a higher-capacity model, planning for electrical and plumbing updates during installation avoids surprises and delivers a longer-lasting solution tailored to Goleta homes.
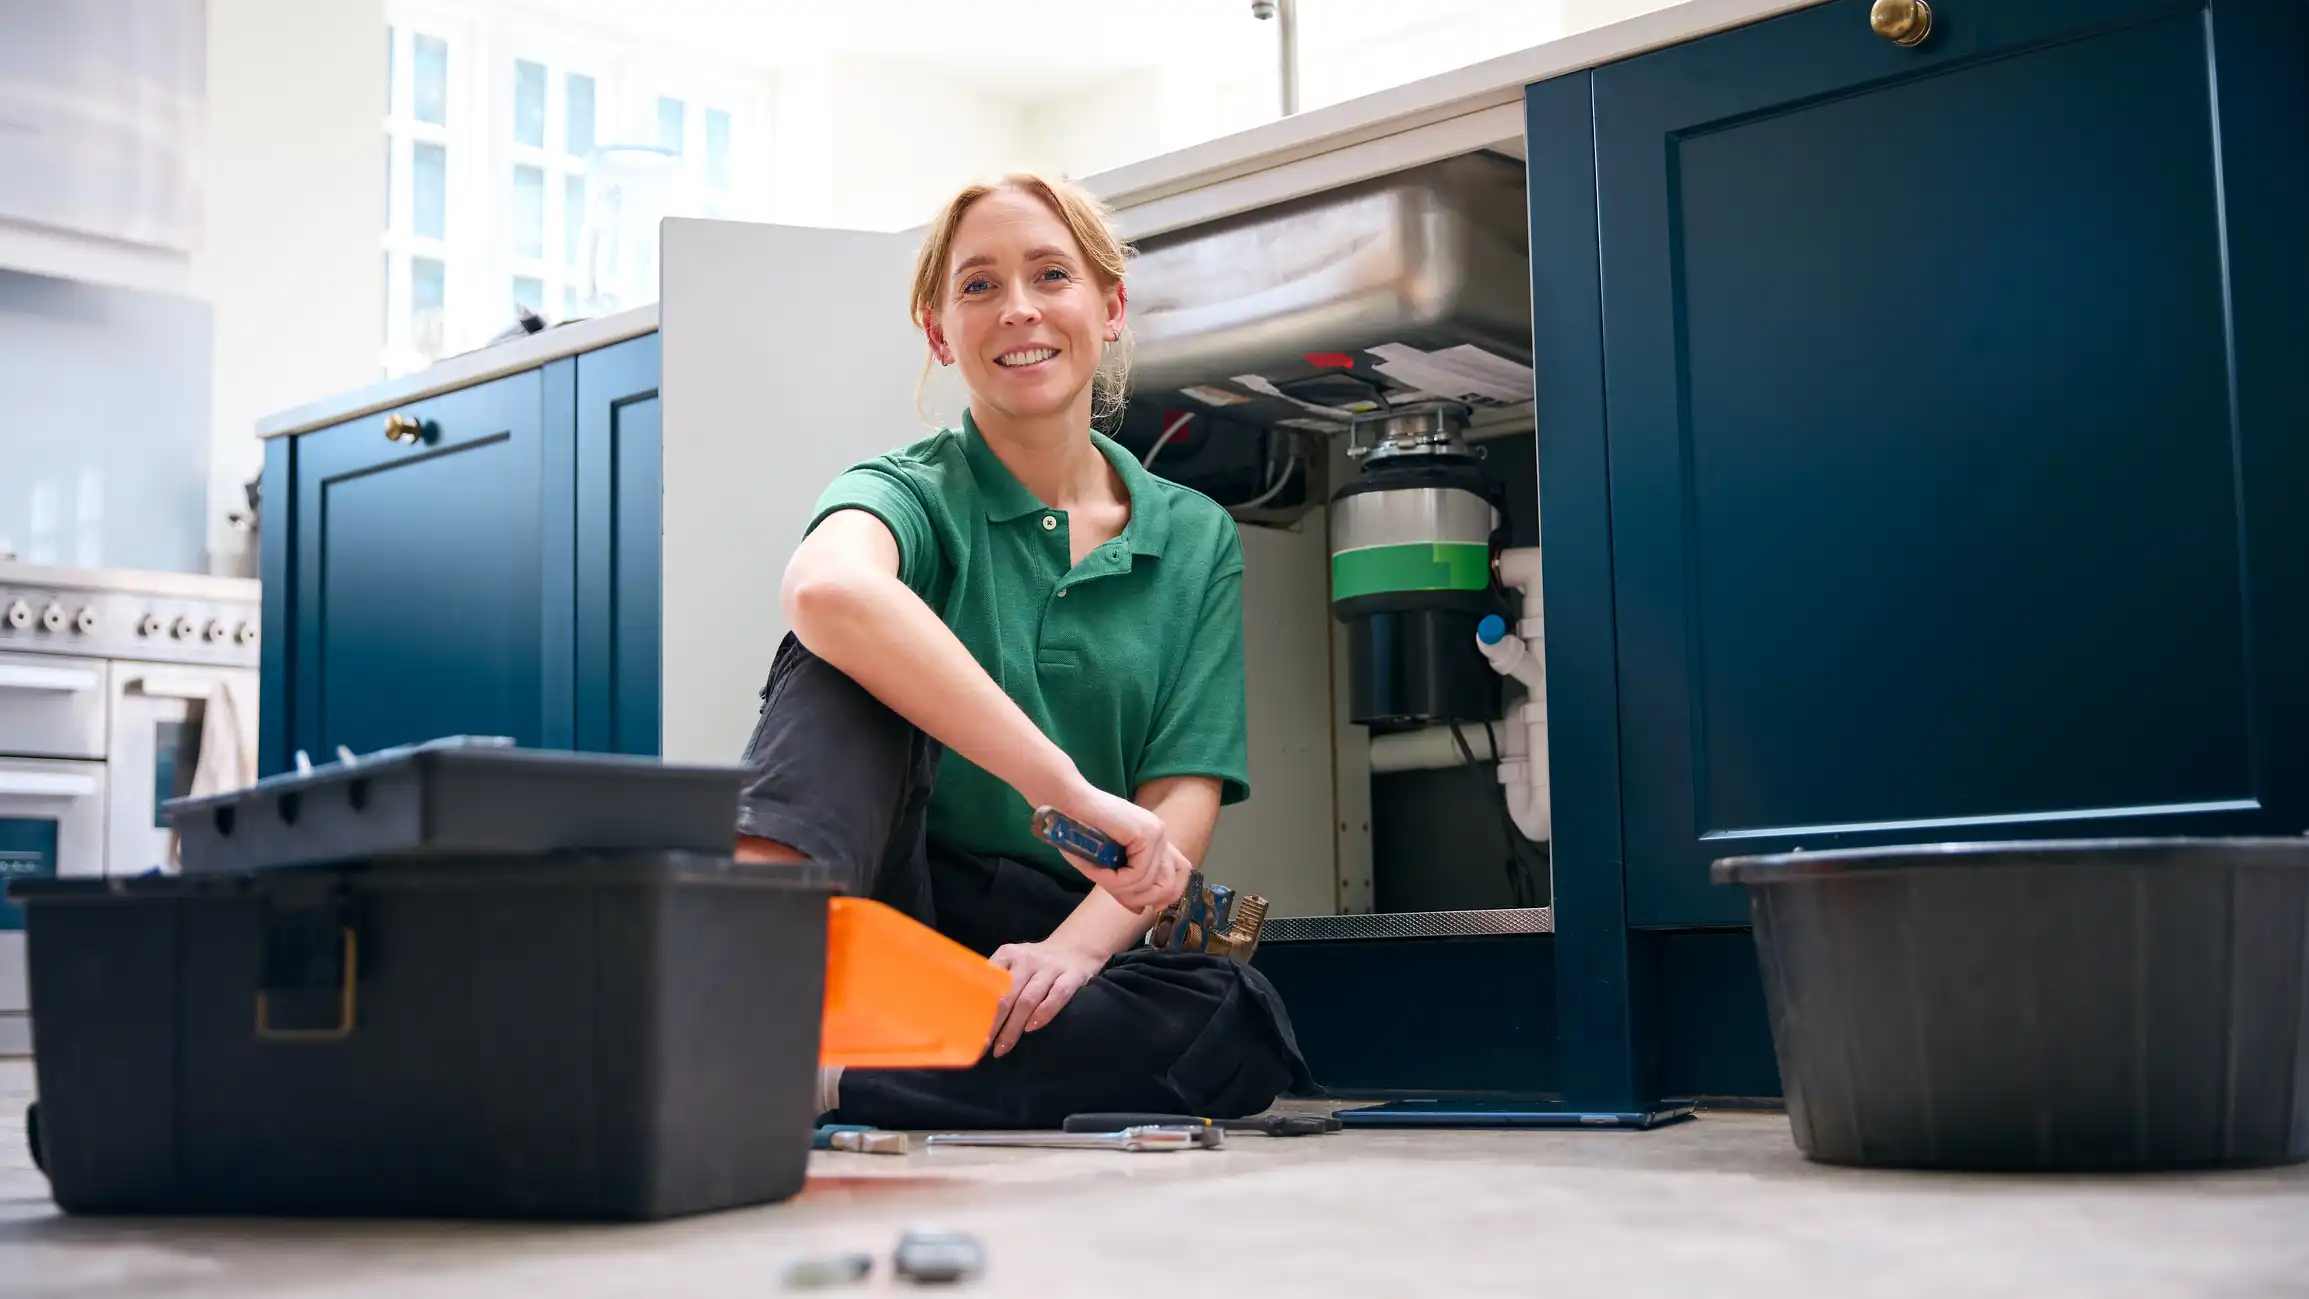
Upgrade Your Kitchen the Smart Way
A reliable garbage disposal makes cleanup easier and keeps your Goleta kitchen running smoothly. AirWorks Heating Air Plumbing provides expert garbage disposal installation designed to prevent leaks, reduce noise, and withstand coastal conditions. Take advantage of current Specials that make upgrading your kitchen both affordable and hassle-free. Still unsure? Read Reviews from local homeowners who trust our team for precise installations and long-lasting results. Contact us today to schedule your garbage disposal installation and enjoy a cleaner, more efficient kitchen you can count on daily.

Financing for Your AC, Heating, or Plumbing needs, Big or Small!
Hear What Our Satisfied Clients Have To Say