Garbage Disposal Installation Calabaslas, CA
Serving Ventura & Sacramento Counties
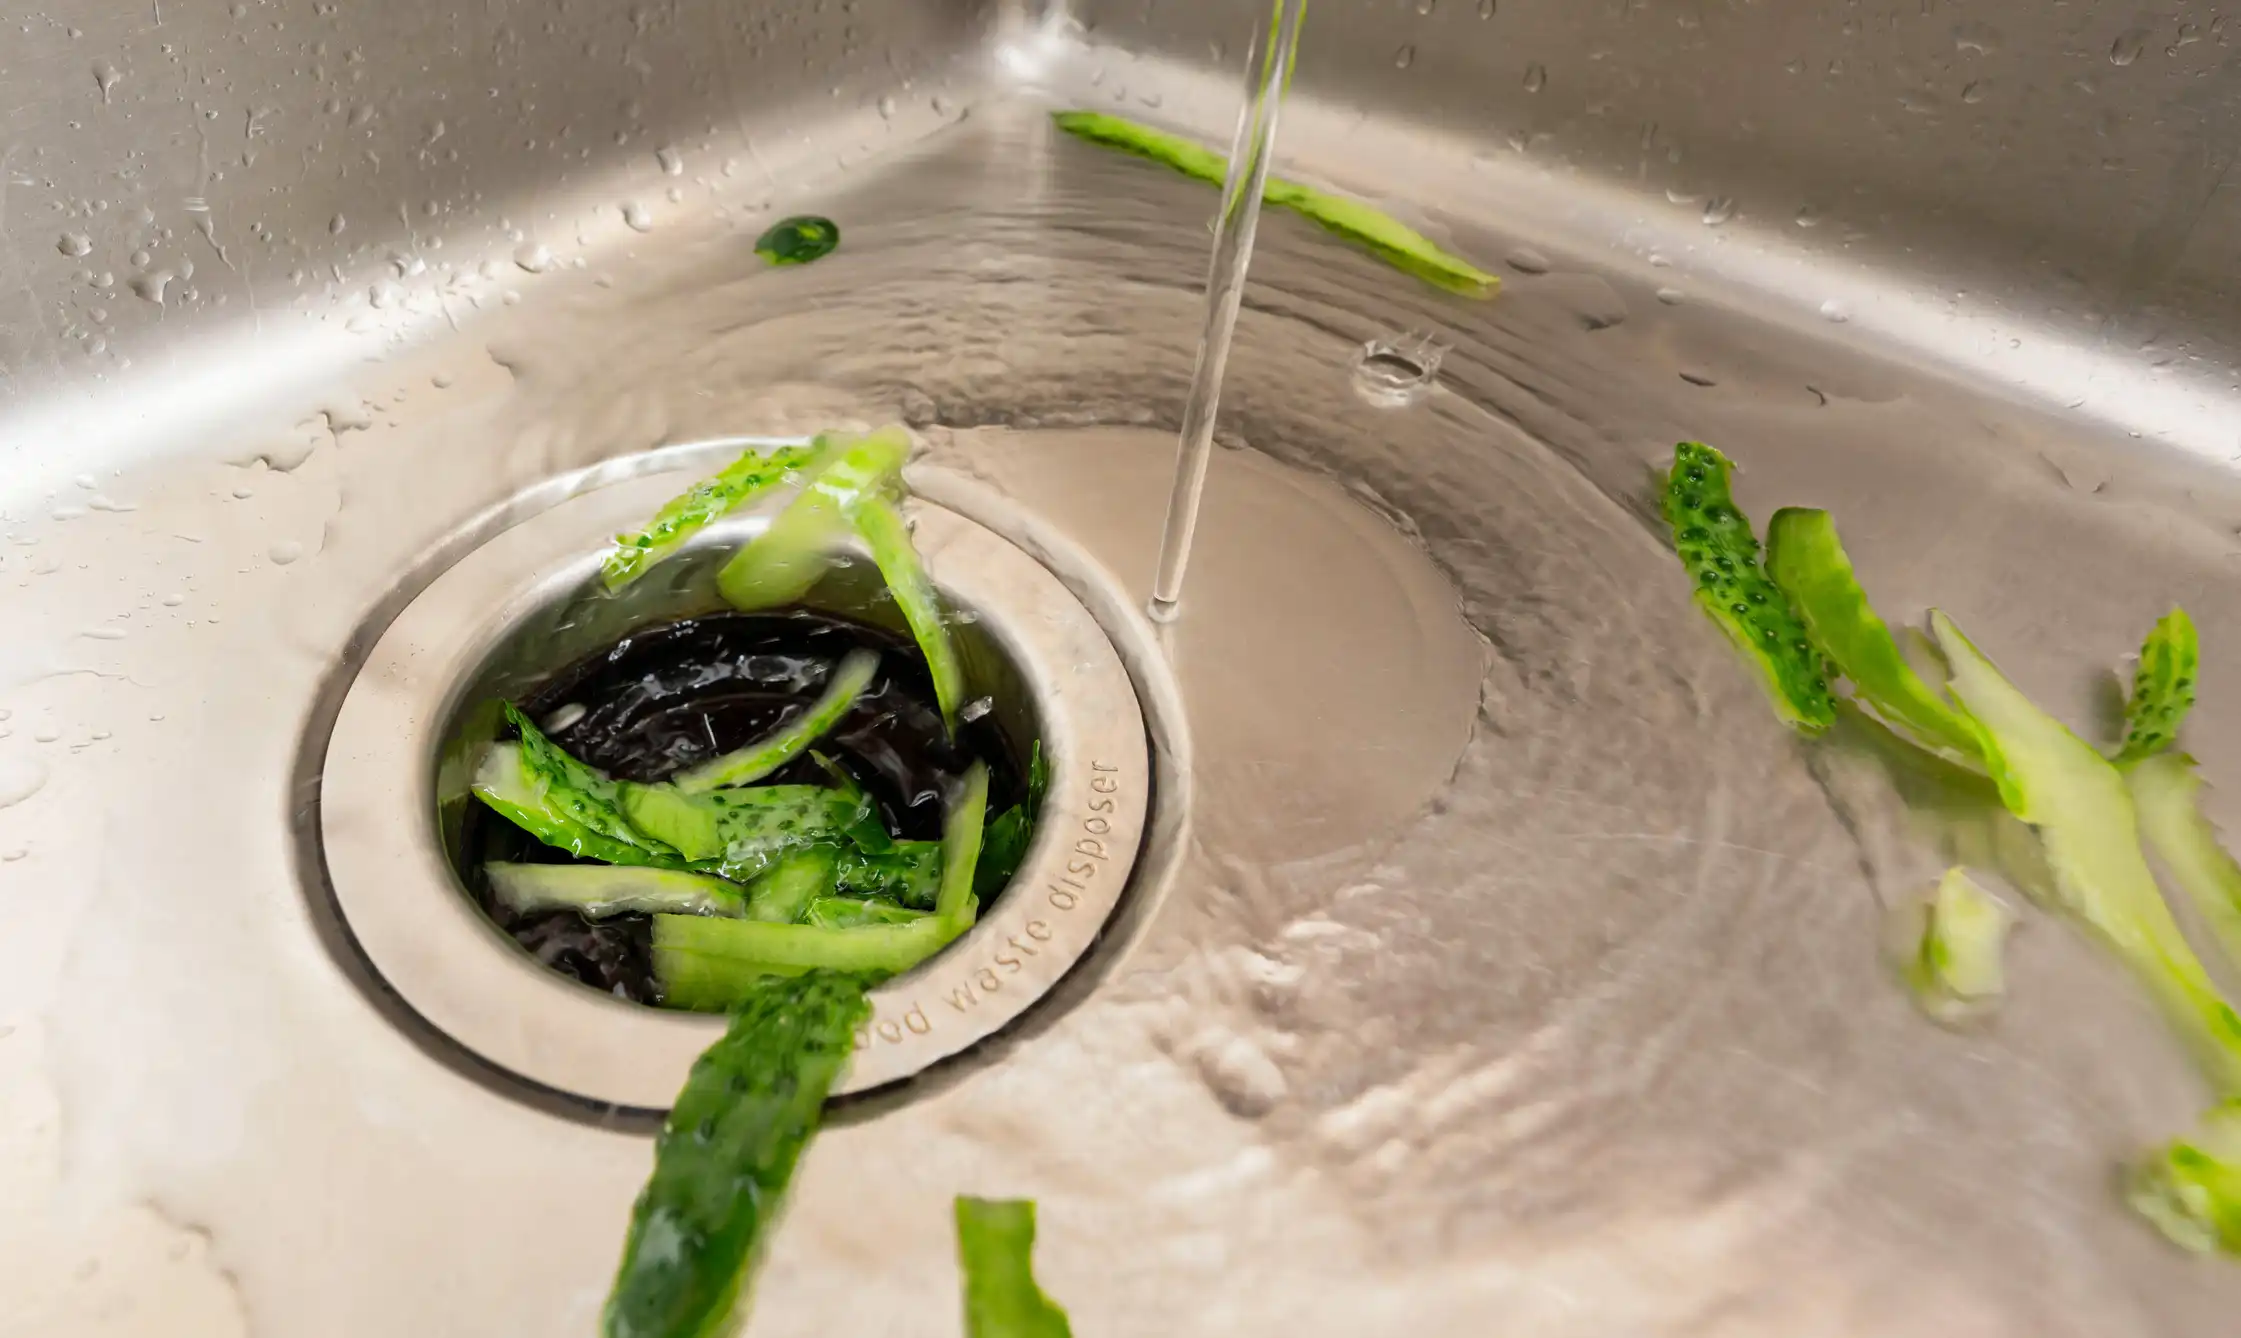
.webp)
Upgrading or installing a garbage disposal in your Calabaslas, CA kitchen improves convenience, reduces sink clogs, and helps manage food waste from frequent entertaining. In this guide you’ll find clear advice on choosing the right unit for local homes, what electrical and plumbing requirements to expect, noise and capacity options, a step-by-step overview of a professional installation, and practical maintenance to prevent jams and odors. This is focused, decision-stage guidance so you know exactly what to consider before moving forward.
Why install a garbage disposal in Calabaslas homes
Calabaslas households often have open-concept kitchens and host regular gatherings. A properly sized, quiet garbage disposal keeps food prep and cleanup fast without disturbing adjacent living spaces. Local factors to consider:
- Mediterranean climate means more fresh produce and kitchen scraps year-round.
- Many homes value quiet performance because of open-plan layouts and nearby living areas.
- Some properties use septic systems; that affects which models and practices are best.
- Water conservation remains important in Southern California, so efficient use and proper maintenance are a priority.
Common garbage disposal types and who they’re for
- Continuous-feed disposals: Run while adding scraps; best for families and frequent kitchen use. Usually paired with a switch.
- Batch-feed disposals: Operate only with a stopper in place; safer for households with children and useful in tight spaces.
- Motor sizes (power and performance):
- 1/3 horsepower (HP): Light-duty, for small households with minimal food waste.
- 1/2 HP: Most popular for average family kitchens; handles peels and soft scraps reliably.
- 3/4 to 1 HP: For heavy use, large families, or homes that process bones, fibrous vegetables, or large volumes.
- Noise-control/insulation features: Look for models with sound baffles, anti-vibration mounts, and insulated housings if your kitchen opens into living areas.
Electrical and plumbing requirements (what to plan for)
Electrical:
- Most disposals are 120V and need a properly grounded circuit. Many installations use a dedicated circuit; smaller units sometimes share a circuit depending on local code.
- Switch location must be accessible and meet local electrical code. Hardwired units are common in new installs; plug-in connections are used where outlets are available under the sink.
- A dishwasher connection on the disposal requires secure wiring and proper bonding if local code requires it.
Plumbing:
- Standard 1-1/2 inch or 1-1/4 inch discharge connection to the sink trap. Confirm trap and tailpiece compatibility.
- Dishwasher drain hookup: If your dishwasher drains into the disposer, a knockout plug must be removed at installation and a high-loop or air gap installed per local plumbing code.
- Septic considerations: Some septic systems limit the use of disposals. If you are on septic, choose a smaller-capacity model and consult with a septic professional or local authority for recommendations.
Codes and permits:
- Installations must meet local plumbing and electrical codes. A professional installer will confirm whether a permit or inspection is required in your jurisdiction.
Noise and capacity options—matching performance to your home
- Noise ratings: Manufacturers often rate noise with decibels or proprietary scales. Compare quiet models if your kitchen is connected to living spaces.
- Capacity: Match horsepower to typical kitchen waste:
- Occasional meal prep: 1/3 to 1/2 HP
- Daily family cooking and entertaining: 1/2 to 3/4 HP
- Heavy, frequent use (bones, large volumes): 3/4 to 1 HP
- Features to look for: anti-jam mechanisms, stainless steel grinding components, multi-stage grinding, overload protection, and easy-access reset buttons.
Step-by-step installation overview (what professionals do)
This is a simplified outline of a typical professional install so you know what to expect:
Pre-install inspection
- Verify sink type, under-sink clearance, trap alignment, dishwasher connection, and electrical access.
- Confirm septic vs sewer connection and local code requirements.
Power isolation
- Power is turned off at the breaker before any electrical work.
Remove existing unit or prepare sink
- Disconnect and remove the old disposal, flange, and drain components as needed.
- Inspect sink flange and drain for corrosion or damage; replace if necessary.
Assemble and mount flange and mounting ring
- New flange and mounting assembly are sealed to the sink using plumber’s putty or approved gasket and tightened per manufacturer instructions.
Electrical connection
- Install a new outlet or hardwire unit per code. Ensure grounding and use a GFCI-protected circuit where required.
Hook up discharge and dishwasher tailpiece
- Attach the discharge tube to the disposer and align the trap. Connect dishwasher drain after removing the knockout plug and securing the tailpiece.
- Install high-loop or air gap for dishwasher drain as required.
Secure unit and test
- Tighten mounting hardware, run water, restore power, and run the disposer to check for leaks, vibration, and proper drainage.
Final check and adjustments
- Verify that the unit runs quietly, the trap is sealed, and dishwasher draining is correct. Demonstrations of basic operation and reset procedures are provided.
A typical professional installation takes about 1.5 to 3 hours depending on complexity and any necessary upgrades.
Maintenance to prevent jams and odors
Proper use and routine care extend life and keep odors away:
Best practices while using:
- Run cold water before, during, and after grinding. Cold water helps solidify fats so they can be ground and flushed.
- Feed small amounts of waste gradually; avoid overloading.
- Avoid fibrous, starchy, or hard materials: celery, corn husks, onion skins, banana peels, large bones, coffee grounds in excess.
- Do not pour grease or large amounts of cooking oil down the disposal.
Regular cleaning:
- Use cold water and citrus peels occasionally to freshen. Chop peels into small pieces.
- For deeper cleaning, grind ice cubes with a handful of coarse salt to remove buildup and sharpen blades.
- Use enzyme-based bio-cleaners periodically to help break down organic residues without harming plumbing or septic systems.
Preventing jams:
- If a jam occurs, switch off power at the breaker before attempting to clear. Use the manual hex key at the bottom of many units to free a jam; never put your hand inside.
- Keep a small broom or brush for sink edges and strainer to prevent solids from entering.
Septic system considerations:
- If on septic, reduce usage and avoid heavy disposals. Use enzyme treatments recommended for septic systems to assist decomposition.
Long-term benefits and what to expect after installation
A properly selected and installed garbage disposal in Calabaslas will:
- Reduce sink clogs and make kitchen cleanup faster.
- Improve convenience for households that cook and entertain often.
- Preserve quiet household environments if you select a sound-insulated model.
- Operate reliably for many years with simple maintenance routines.
If your property uses a septic system or has limited under-sink space, these factors influence the ideal model and installation approach. Choosing the right horsepower, noise-control features, and ensuring correct electrical and plumbing work upfront prevents costly changes later and keeps your kitchen running smoothly.
Upgrade Your Kitchen with Ease
A new garbage disposal makes cleanup faster, prevents clogs, and keeps your Calabasas kitchen running smoothly. Trust AirWorks Heating Air Plumbing for professional installation that matches the right unit to your home, plumbing, and lifestyle needs. Worried about upfront costs? Take advantage of our flexible Financing options designed to make upgrades simple and affordable. For long-term reliability, add our Maintenance Plan to keep your disposal and plumbing systems in top condition year after year. Schedule your installation today and enjoy a smarter, more efficient kitchen.

Financing for Your AC, Heating, or Plumbing needs, Big or Small!
Hear What Our Satisfied Clients Have To Say