Air Conditioning Installation in Chatsworth, CA
Serving Ventura & Sacramento Counties
Air Conditioning Installation in Chatsworth, CA
A properly sized, professionally installed air conditioning system protects comfort, energy bills, and indoor air quality in Chatsworth homes and small businesses. With hot, dry summers, occasional heat waves, and seasonal dust and wildfire smoke that can drift into the San Fernando Valley, choosing the right AC and getting the installation done correctly is critical. This page explains the end-to-end AC installation process in Chatsworth, CA, common installation choices, what to expect during a project, and post-install benefits and maintenance you should plan for.
Why a professional AC installation matters in Chatsworth
- Chatsworth summers often push HVAC systems hard. An undersized unit will run constantly and shorten equipment life. An oversized unit will short-cycle, increasing humidity and comfort problems.
- Local air quality events and dust make filtration and proper duct sealing important for health and efficiency.
- California energy codes and efficiency standards influence equipment selection and permit requirements, so installations done to code will save energy and avoid costly rework.
Common AC installation types and issues in Chatsworth
- Central split systems for homes with existing ductwork. Common problems: leaking or undersized ducts, inadequate airflow, and older systems that use phased-out refrigerants.
- Ductless mini-split systems for rooms or homes without ducts, garage conversions, ADUs, or additions. Benefits include zoning and higher efficiency, with typical installation considerations around line sets and mounting.
- Heat pump installations (air-source) as an all-electric option that provides both cooling and heating. Increasingly popular in California for efficiency and electrification goals.
- Commercial rooftop or packaged units for small businesses. Challenges include roof access, curb adapters, and proper condensate management.
Step 1 — Site survey and home assessment
A thorough site survey sets the foundation for a reliable installation. Expect:
- Inspection of existing ducts, insulation, attic access, and equipment location.
- Assessment of indoor air quality needs (filtering, UV, whole-home purifiers) and ventilation.
- Identification of electrical capacity, breaker sizing, and potential upgrades.
- Measurements of sun exposure, attic conditions, and shading that affect cooling load.
Step 2 — Load calculations and unit sizing
Proper sizing is not guesswork. Technicians use industry-standard load calculation methods (often called Manual J) to determine how much cooling is needed based on:
- Square footage, ceiling heights, insulation levels, window types and orientation, and occupancy.
- Local climate factors for Chatsworth including design temperatures and solar gains.
Correct sizing reduces cycling, improves humidity control, and optimizes energy use.
Step 3 — Choosing ducted vs mini-split and equipment selection
- Ducted central AC: best for whole-home cooling when ducts are in good condition. Look for high SEER ratings and matched indoor/outdoor components.
- Ductless mini-splits: ideal for homes without ducts, additions, or zoning requirements. They provide targeted comfort and can be added incrementally.
- Consider features important for Chatsworth homes: enhanced filtration for smoke/dust, variable-speed compressors for quieter operation and better efficiency, and smart thermostat compatibility.
- Equipment selection should also account for refrigerant type and future serviceability.
Step 4 — Permits, code compliance, and electrical work
Proper permits and inspections are part of a compliant installation. Typical items:
- Local building permits and final inspection to verify code compliance.
- Compliance with California energy requirements and appliance efficiency standards.
- Electrical upgrades may be needed: dedicated circuits, disconnects, or panel work to support new equipment.
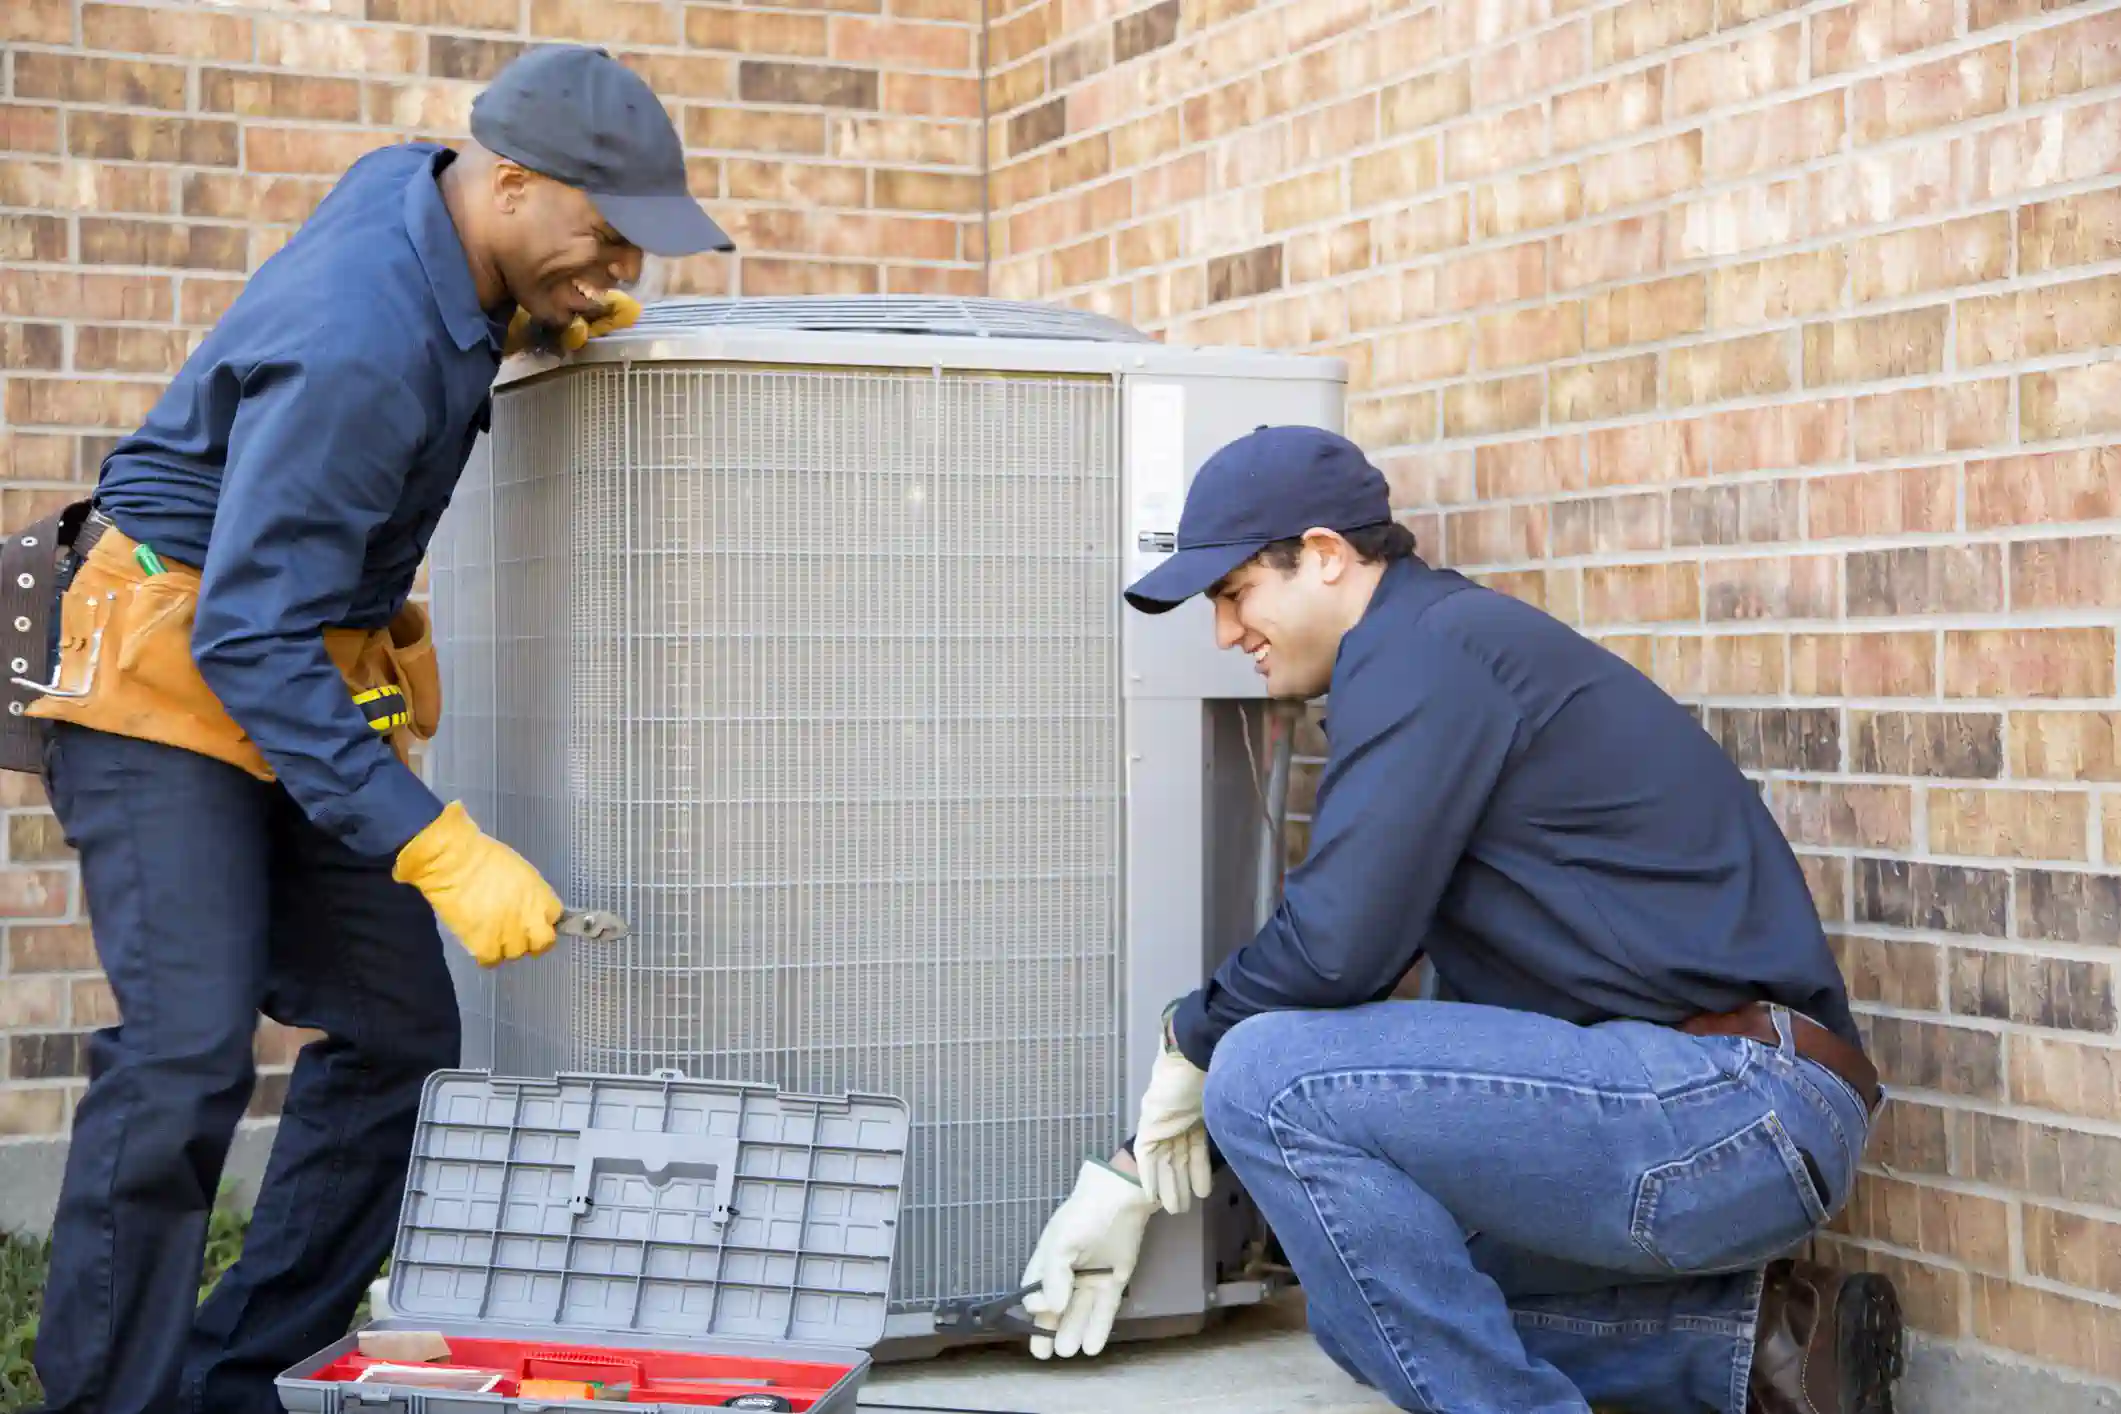
Step 5 — Installation timeline and what to expect
A standard residential installation typically follows:
- Day 1: Final prep, equipment drop-off, minor demolition if needed, and start of outdoor unit placement.
- Day 2: Duct modifications or indoor air handler installation, refrigerant line sets or ductwork connections, electrical tie-ins.
- Day 3: Final hookups, insulation, cosmetic repairs, and cleanup.
Timeline varies by project complexity: duct repairs, structural work, or multi-zone mini-splits can extend the schedule. Installers should protect floors and landscaping and keep homes clean during work.
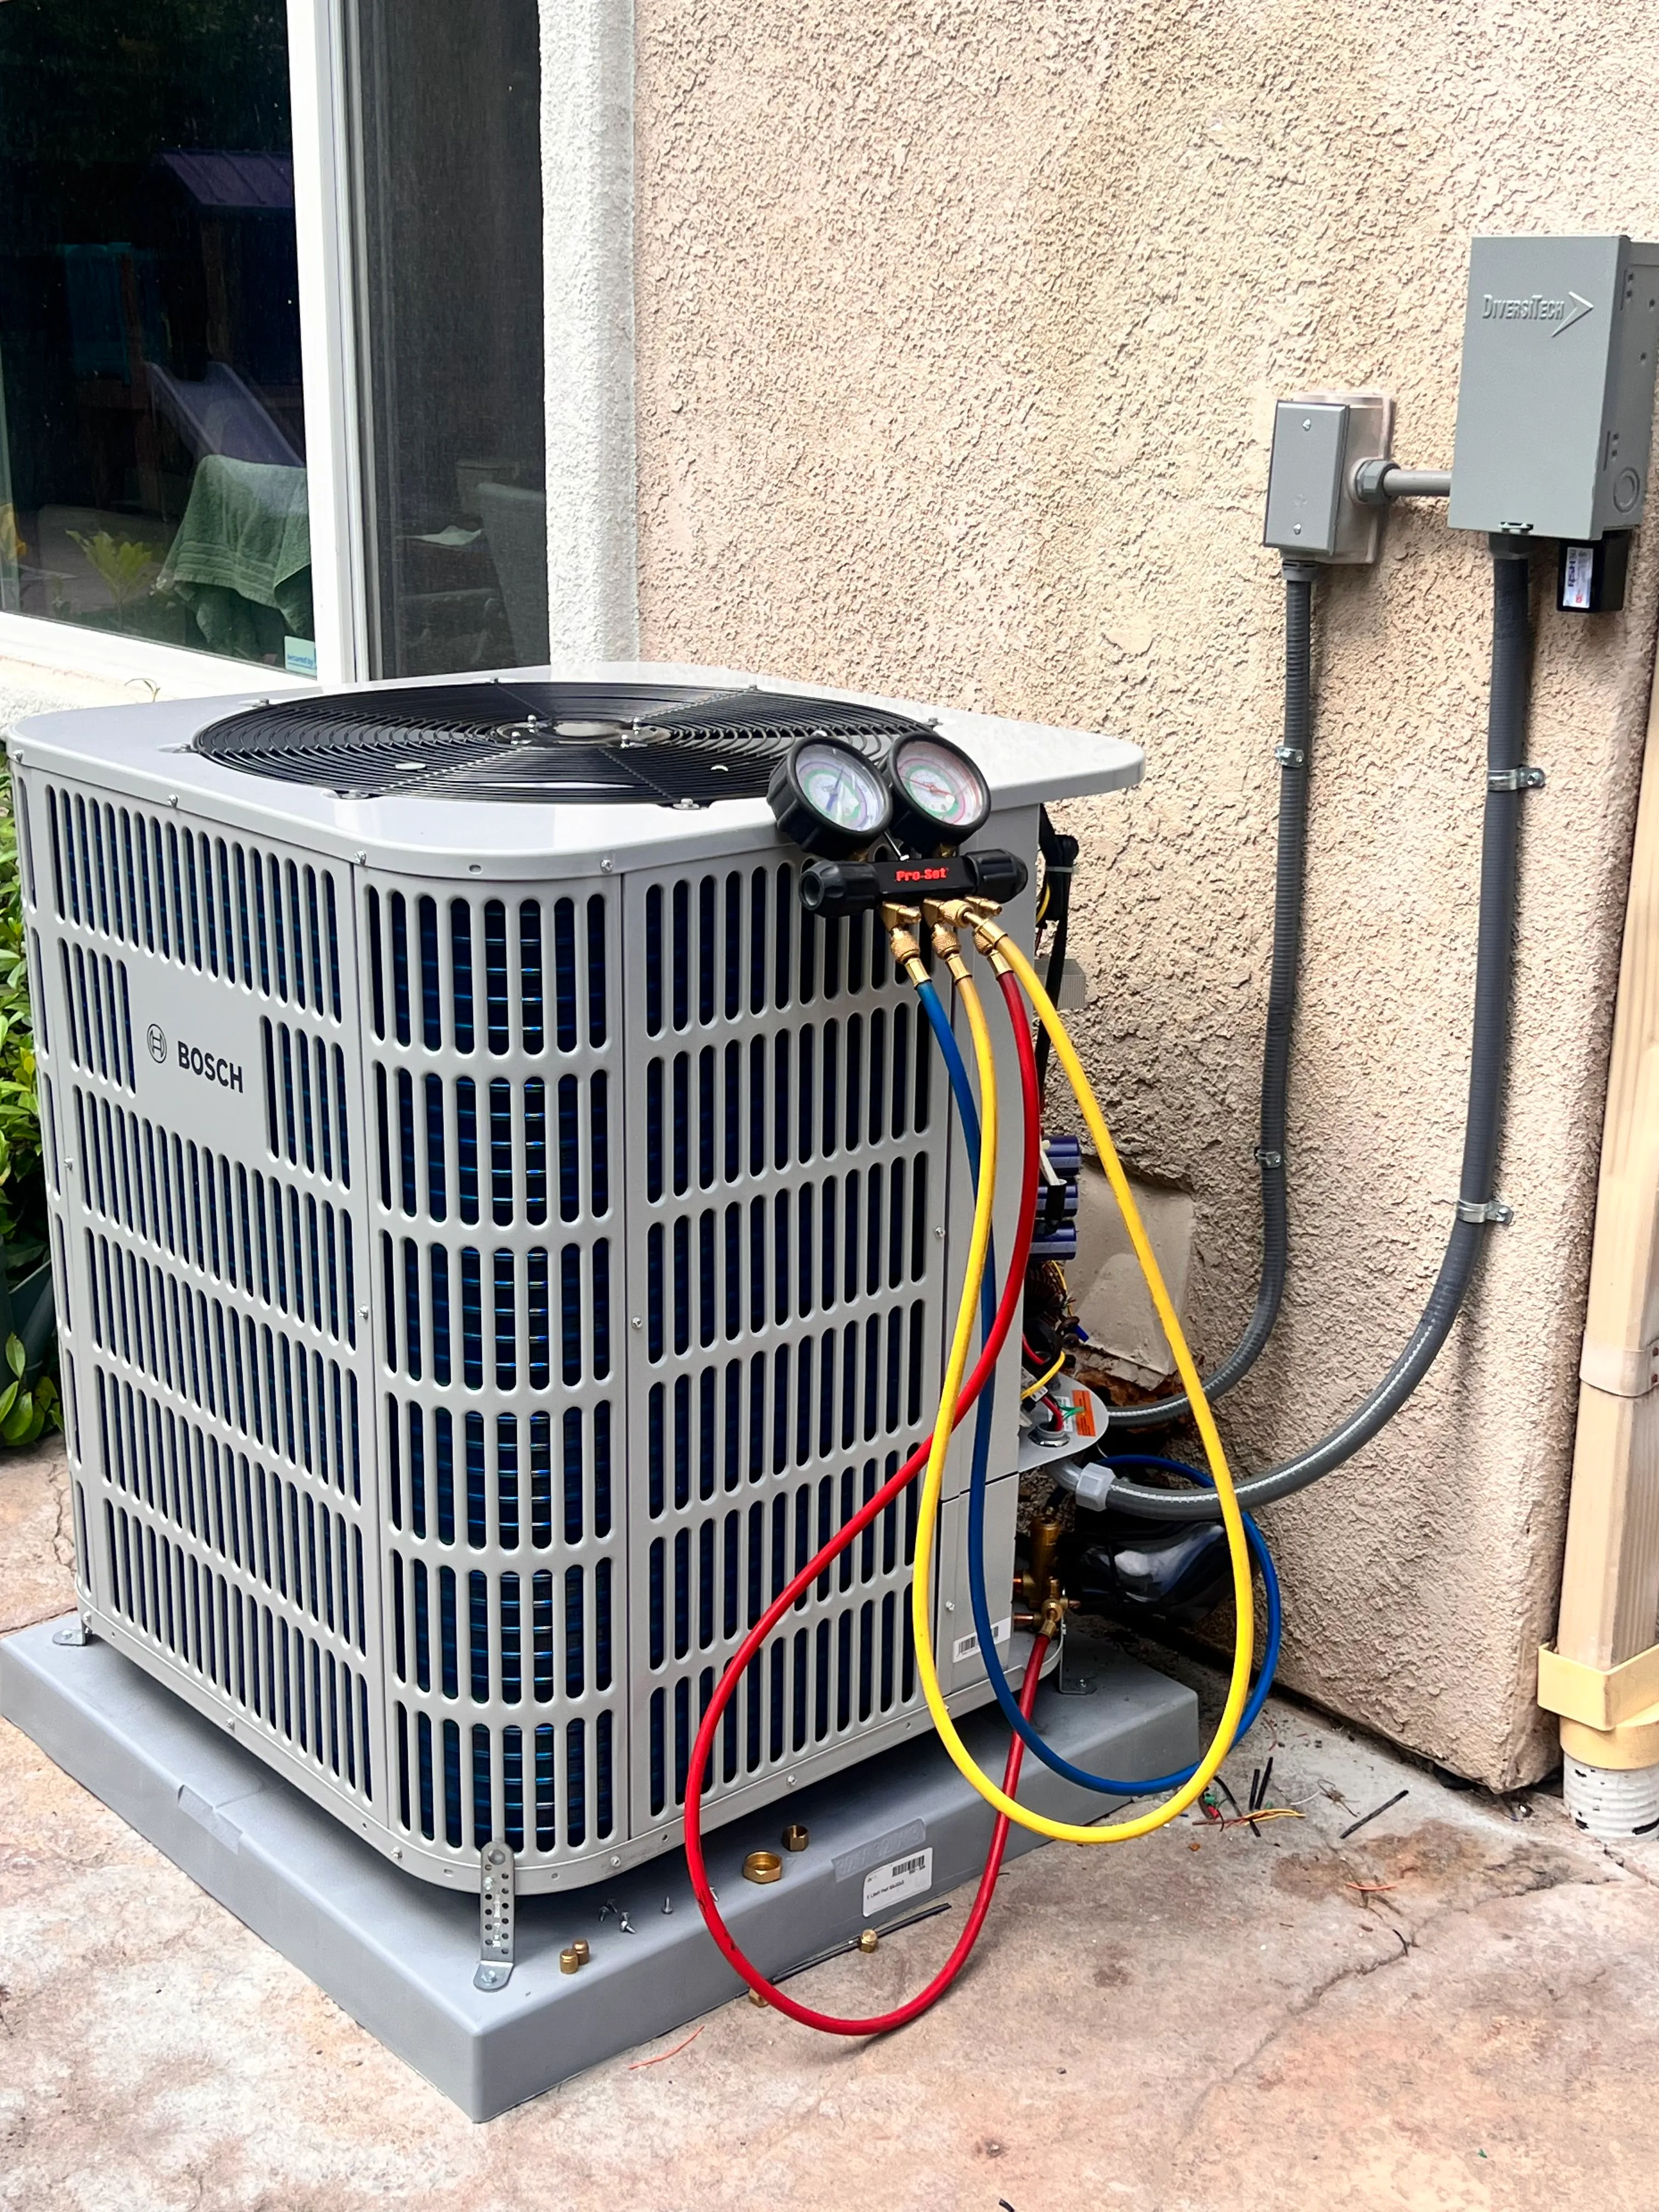
Step 6 — Testing, commissioning, and handover
A professional install includes a documented commissioning process:
- Verify refrigerant charge, measure airflow, and balance distribution to each room.
- Calibrate thermostat and verify control zones where applicable.
- Test safety controls, condensate drainage, and electrical connections.
- Demonstrate system operation and basic maintenance steps for the homeowner.
This stage ensures the system is efficient, safe, and performing as designed.
Warranties, service agreements, and financing options
- Manufacturer warranties typically cover compressors and major components; length and coverage vary by brand.
- Labor warranties cover installation workmanship for a defined period. Ask what is included (e.g., refrigerant, electrical, duct sealing).
- Maintenance plans help preserve warranties and improve longevity by ensuring annual service, filter changes, and priority response.
- Financing choices can include low-interest loans, installment plans, and contractor financing programs. Additionally, utility rebates or state incentives for high-efficiency systems or heat pumps may be available, making upgrades more affordable.
Post-install benefits and maintenance advice
- Expect improved comfort, lower energy bills when properly sized, and better humidity control.
- Regular maintenance is essential: replace filters every 1 to 3 months depending on use and indoor air quality, schedule professional tune-ups annually, and keep outdoor condensers clear of debris.
- For Chatsworth residents, consider enhanced filtration or whole-home air purification to manage seasonal smoke and dust. Proper attic insulation and duct sealing amplify system performance and reduce running time.
Common questions installers address
- How long will my system last? With correct installation and maintenance, modern systems last 12 to 18 years.
- Should I repair or replace my existing system? Consider age, repair frequency, refrigerant type, and efficiency. Replacement often pays back through lower bills and fewer repairs.
- Will I need new ducts? If ducts are leaky or undersized, sealing, insulating, or replacement improves comfort and efficiency.
A transparent, code-compliant installation tailored to Chatsworth conditions delivers dependable comfort through the hottest months and protects indoor air quality year-round. With the right assessment, equipment, and commissioning, your new AC will run efficiently, quietly, and reliably for years to come.
Dependable Comfort Starts With Precision AC Installation
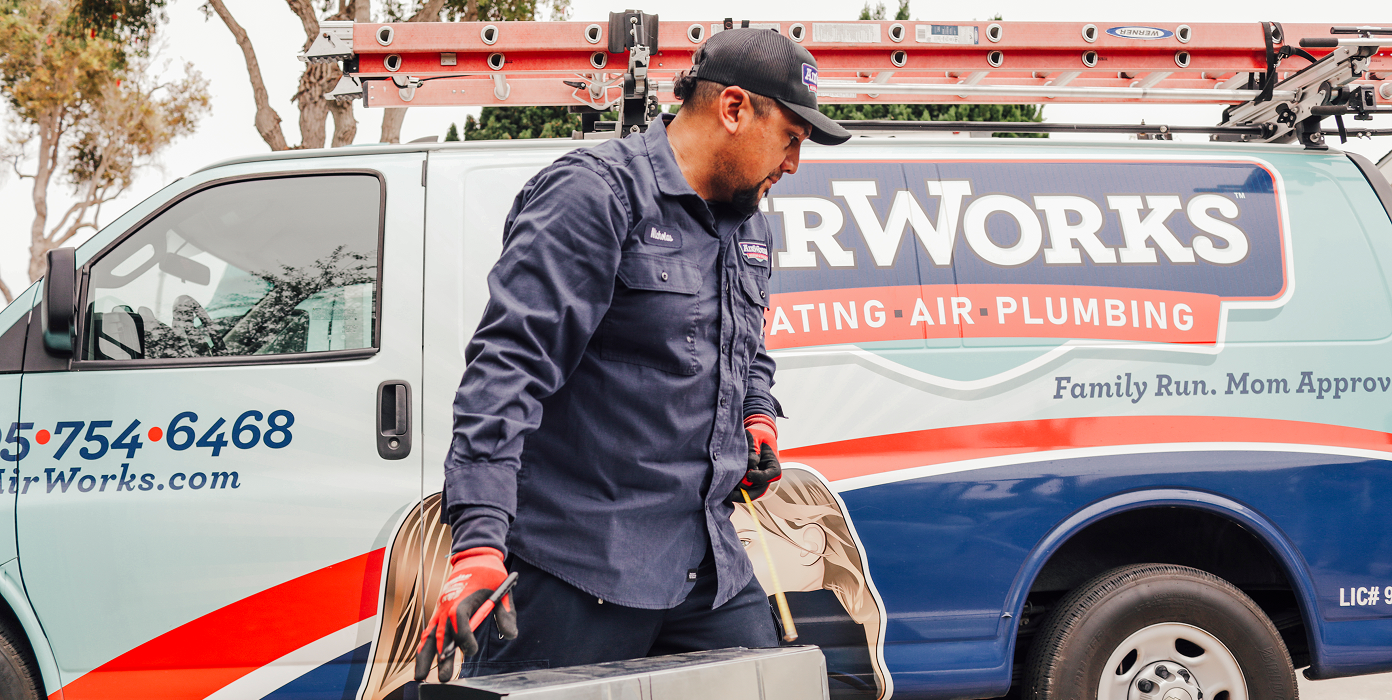
A correctly sized and expertly installed cooling system is key to keeping indoor conditions stable, efficient, and healthy—especially in neighborhoods affected by dust, smoke, and dry air. With air conditioning installation in Chatsworth, CA, AirWorks Heating Air Plumbing delivers systems that match your home’s cooling load, meet California code, and are installed with clean workmanship and proper airflow balancing. From split systems to ductless mini-splits, every install is planned for long-term reliability and low energy use—without the risks of short-cycling or airflow problems.
Upgrade With AC Installation Built for Chatsworth Air and Energy Demands

Financing for Your AC, Heating, or Plumbing needs, Big or Small!
Hear What Our Satisfied Clients Have To Say